 bluename
 How to Overwinter succulents Successfully: A Step-by-Step Guide from a Fellow Plant Lover
I’ve lost my fair share of succulents to winter. That heartbreaking moment when a plump, vibrant echeveria turns to mush, or a tall, proud cactus develops a dark, spreading rot. If you’re worried about how to overwinter succulents successfully, you’re not alone. It’s the single biggest challenge for indoor succulent collectors in temperate climates. The goal isn’t just survival; it’s helping them enter a healthy dormancy so they can thrive again come spring. After years of trial and error, I’ve developed a reliable system. Let me walk you through my exact process, including the mistakes I’ve made and how I fixed them.
Understanding Succulent Dormancy Most popular succulents, like Sedums, Echeverias, and many Aloes, experience a growth slowdown or full dormancy in winter. They aren’t dead—they’re resting. According to the Royal Horticultural Society (RHS), forcing actively growing conditions during this natural rest period can lead to etiolation (stretching) and root rot. My approach respects this cycle.
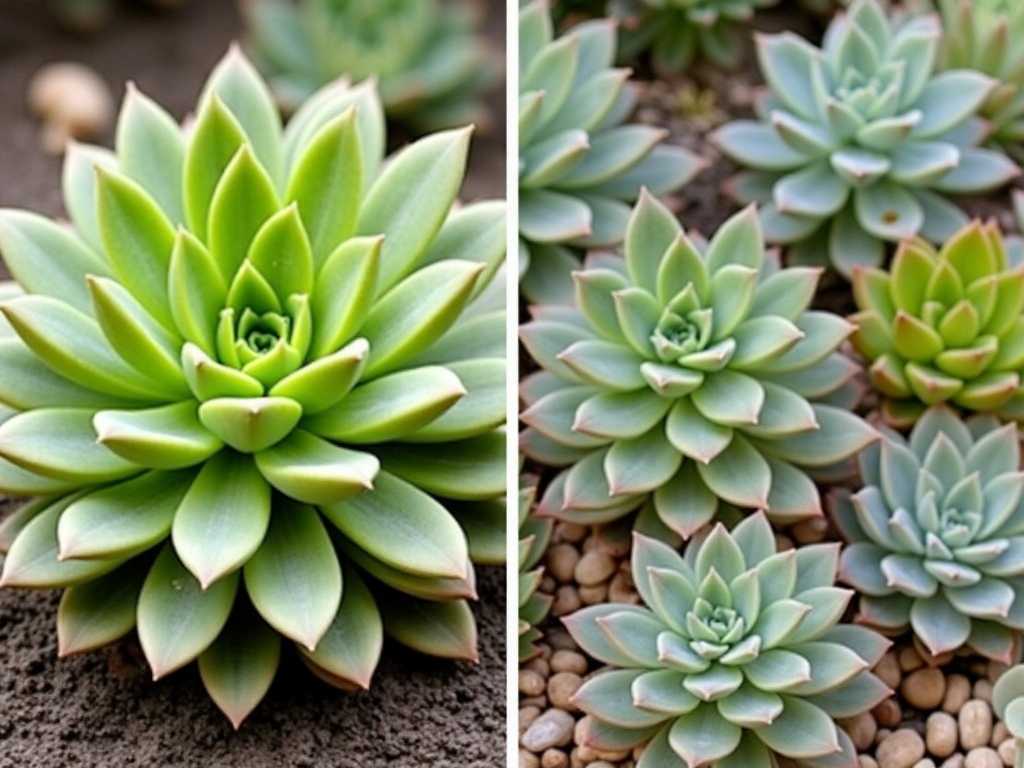
My 4-Step Pre-Winter Preparation Ritual About a month before our first expected frost, I begin the transition. Rushing this is a classic mistake.
Step 1: The Great Move Indoors I don’t wait for the cold snap. When nighttime temperatures consistently hit 50°F (10°C), I start bringing my potted succulents inside. This gradual move prevents temperature shock. I dedicate a specific area: a south-facing windowsill is ideal, but an east or west window works too. For my low-light tolerant Haworthias and Sansevierias, a bright north window can suffice. The key is maximizing available light.
Step 2: The Inspection and Quarantine This is non-negotiable. Every single plant gets a thorough check. I look under leaves, along stems, and in the soil for pests like mealybugs (those fluffy white devils) or scale. I learned this the hard way one year when I introduced aphids to my entire collection. Now, any new or returning plant spends at least two weeks in a separate room. If I spot pests, I isolate the plant and treat it immediately with a 70% isopropyl alcohol spray, dabbing every bug I see.
Step 3: The Watering Wind-Down As light levels drop, so does their thirst. I drastically reduce watering frequency. My summer schedule might be every 7-10 days. In winter, I stretch it to every 3-4 weeks, sometimes longer. The American Horticultural Society (AHS) emphasizes the “soak and dry” method but with extended dry periods in winter. I only water when the soil is completely dry and the leaves show slight signs of thirst—a gentle softness, not severe wrinkling.
Step 4: Soil and Pot Check I repot any plant that’s been in the same soil for over two years or is in a pot without drainage. Winter is a risky time for repotting, so I do this during the preparation phase. I use a gritty, fast-draining mix—about 50% potting soil and 50% perlite or pumice. This is critical for preventing the number one killer: root rot.
My Two-Week Winter Care Observation Log Here’s what my first critical two weeks of winter care looked like for a test group of three plants: an Echeveria ‘Perle von Nürnberg’, a Jade Plant (Crassula ovata), and a String of Pearls (Senecio rowleyanus).
Day 1-3 (Acclimation): All plants are on the bright windowsill. The Echeveria’s colors are already less vibrant due to less intense light indoors. The Jade Plant looks unchanged. The String of Pearls, which was hanging outdoors in shade, seems perfectly happy. I resist watering them all. The soil is still slightly damp from a pre-move watering.
Day 4-7 (The First Temptation): The Echeveria’s lower leaves are feeling a bit softer. My instinct is to water it. This is the pitfall! Instead, I gently rotate the pot for even light exposure and note the change. The Jade Plant’s leaves have lost their rigid turgor and have a slight give. Still, I wait. The String of Pearls’ pearls are slightly less plump. I move it to a higher shelf for more light, as the stems were starting to reach.
Day 8-14 (Establishing the Rhythm): By day 10, the Echeveria shows more pronounced leaf softness. I perform the “taco test”—gently trying to fold a leaf. It bends easily. This is my sign. I give it a thorough soak, allowing water to run freely from the drainage hole, and then place it back. The Jade Plant gets water on day 12. For the String of Pearls, I use a “bottom watering” technique on day 14, placing the pot in a shallow tray of water for 20 minutes to avoid rotting the delicate pearls on the soil surface.
Result after 2 Weeks: No rot, no stretching. The plants are slightly less plump but firming up after their drinks. They have successfully entered their slower winter mode.
Common Winter Pitfalls and My Solutions Pitfall 1: Overwatering and Root Rot This was my biggest, messiest mistake. A damp, cold root ball is a death sentence. The solution is simple but requires discipline: ignore the calendar. Use a moisture meter or a wooden chopstick. Only water when the soil is bone-dry deep into the pot. If you suspect early rot (black, mushy stem base), act fast. Unpot the plant, cut away all rot with a sterile knife, let it callous for days, and replant in dry, fresh mix. I’ve saved several plants this way.
Pitfall 2: Etiolation (Stretching for Light) Even in a bright window, light intensity in winter is weak. My Sedums started stretching, becoming leggy and weak. The fix? Get them as close to the window as possible without touching cold glass. I also invested in a simple, full-spectrum grow light for 4-6 hours a day to supplement. It made a dramatic difference, keeping rosettes tight and colorful.
Pitfall 3: Pest Explosions Indoors The warm, dry indoor air is a paradise for spider mites. I noticed fine webbing on my Euphorbia trigona. I increased humidity slightly by placing water trays near my plants (not under them) and began a weekly routine of wiping leaves with a damp cloth. For infestations, insecticidal soap or neem oil solutions (applied in the evening to avoid light burn) are my go-to.
Pitfall 4: Cold Drafts and Heat Blasts Placing plants above a radiator or in a drafty doorway is disastrous. The rapid temperature fluctuations cause stress and leaf drop. I moved my Aloe away from a heating vent after it developed brown, dry tips. Consistent, cool temperatures between 50-65°F (10-18°C) are ideal for winter dormancy.
Special Cases: Overwintering Tender Succulents and Cold-Hardy Varieties Not all succulents come inside. My Sempervivums (Hens and Chicks) and some Sedums are frost-tolerant and stay in the garden. For them, I ensure they are in well-draining soil to prevent ice saturation. My tender, in-ground succulents like some Agaves get a “blanket” of dry mulch or a protective cloche.
Your Succulent Winter Survival FAQs Will my succulent die if I don’t water it all winter? For most, no. A plump, healthy succulent in a cool environment can often go 6-8 weeks without water. It’s far safer to underwater than overwater. Watch for significant leaf wrinkling as your cue.
My succulent is dropping leaves. Is it a lost cause? Not necessarily. Some leaf drop is normal, especially for plants like Jade. Consistent leaf loss often signals overwatering or a severe draft. Assess your watering and the plant’s location before panicking.
Can I fertilize my succulents in winter? Absolutely not. Fertilizing during dormancy forces growth that the low light can’t support, leading to weak, etiolated stems. I stop all fertilizing in late fall and resume only in early spring with a diluted, balanced formula.
Successfully overwintering succulents is a practice in restraint and observation. It’s about working with their natural rhythms, not against them. By preparing early, mastering the “less is more” watering philosophy, and providing the brightest light possible, you’ll not only keep them alive but set them up for a spectacular spring revival. Trust the process, learn from the signs your plants give you, and enjoy the quiet beauty of your collection through the winter months.





