 bluename
 How to Create a Succulent Wreath: A Step-by-Step Guide from a Plant Lover
I’ve always loved the idea of bringing more greenery into my home, especially in unique, living forms. That’s why learning how to create a succulent wreath became a personal mission. These aren’t your typical dried floral arrangements; a living succulent wreath is a piece of sustainable, breathing art. But I know the hesitation. You might be thinking, “Won’t it be too difficult? What if all the plants die?” I had the same fears. After several attempts, meticulous note-taking, and a dedicated two-week observation period, I’ve perfected a method that works. This guide will walk you through my exact process, share the real results I saw, and most importantly, highlight the pitfalls I encountered so you can avoid them.
Why a Succulent Wreath is Worth the Effort
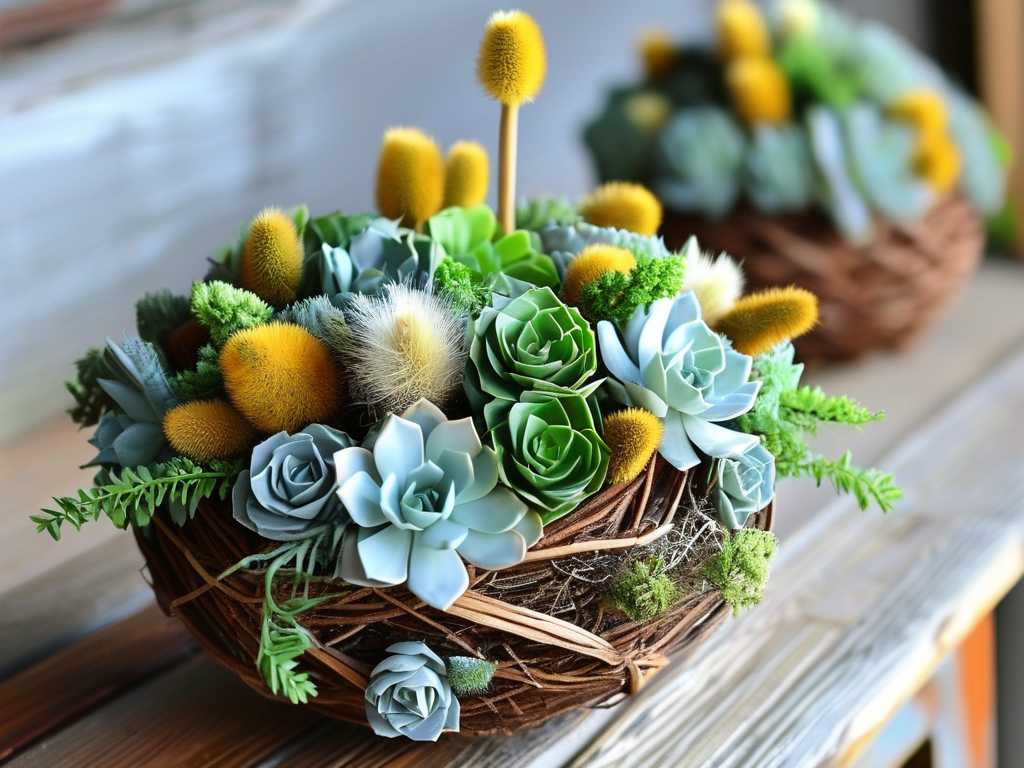
Before we dive into the steps to make a succulent wreath, let’s talk about why it’s special. Unlike cut flowers that wilt in days, a well-made succulent wreath can thrive for months, even years, with proper care. It’s a conversation starter and a testament to patience and creativity. According to the Royal Horticultural Society (RHS), succulents are excellent for long-term projects due to their drought tolerance and slow growth habit, making them ideal for structured designs like wreaths.
Gathering Your Materials: What You Really Need
My first mistake was overcomplicating the supply list. You don’t need every tool under the sun. Here’s the curated list that made the difference:
- The Base: A sphagnum moss wreath form. This is non-negotiable. The moss retains moisture and provides a medium for roots to anchor. I used a 12-inch wire frame packed with moistened moss.
- The Stars: Succulent cuttings or small potted plants. Variety is key! I used a mix of textures and colors: Echeveria ‘Lola’ (rosettes), Sedum dasyphyllum (tiny beads), Graptopetalum paraguayense (ghost plant), and Senecio rowleyanus (string of pearls) for trailing effects. Aim for 30-40 cuttings for a full 12-inch wreath.
- The Tools: Floral pins or U-shaped wires (greening pins), sharp scissors/pruners, a chopstick or pencil for making holes, and gardening gloves.
- The Extras: A tray or plate to set the wreath on during creation and curing, and a misting bottle.
My Step-by-Step Process for Building the Wreath
Preparing the Foundation I began by thoroughly soaking my sphagnum moss wreath form in a bucket of water for about 15 minutes. Then, I let it drain until it was damp but not dripping—a crucial step. An overly soggy base can lead to rot later. I placed the damp form on a large plate to catch any drips.
Selecting and Preparing the Succulents This is where artistry meets botany. I chose cuttings that had been calloused over for 1-3 days (letting the cut end dry and seal). For the DIY succulent wreath for beginners, I recommend starting with hardy varieties like Sedum and Graptopetalum. Using my pruners, I trimmed each stem to about 1.5-2 inches, perfect for inserting securely into the moss.
The Assembly: Patience is Key I started with the larger rosette varieties, like the Echeverias. With my chopstick, I made a small hole in the moss at a slight upward angle. I inserted the stem and gently packed the moss around it to hold it firm. I used floral pins for any particularly heavy or stubborn cuttings, pinning through a lower leaf (not the stem) into the moss. I worked my way around, filling in gaps with smaller Sedums and Sempervivums. Finally, I added the trailers like String of Pearls along the outer and inner edges, allowing them to naturally spill over. The entire process took me about two hours. It’s meditative—don’t rush.
Initial Care and The Critical First Two Weeks This is the make-or-break period. I did not hang the wreath immediately. Following advice aligned with the American Horticultural Society’s (AHA) emphasis on “right plant, right place,” I placed my finished wreath flat on the plate in a spot with bright, indirect light. No direct sun yet—the plants were too vulnerable. For the first week, I only lightly misted the moss base every other day, avoiding pouring water on the leaves. The goal was to encourage root growth into the moss without causing rot.
My Two-Week Observation Log and The “Pit” I Hit
- Days 1-3: The wreath looked great, just as I’d finished it. No changes.
- Days 4-7: Here came the first scare. A few of the lower Echeveria leaves felt slightly soft and translucent—a classic sign of overwatering. I realized I’d kept the base too damp. The Fix: I immediately stopped misting. I moved the wreath to a spot with better air circulation (near a gentle fan on low) to help the moss dry out. I removed the two visibly affected leaves to prevent potential spread.
- Days 8-10: The overwatering signs halted. The moss surface felt dry to the touch. I gave it a thorough but careful soak by placing the entire wreath, still on its plate, in a shallow basin of water for 10 minutes. Then, I lifted it out to drain completely.
- Days 11-14: Success! Tiny, bright pink roots were visibly emerging from the stems of the Sedums and into the moss. The previously soft Echeverias had firmed up. The wreath was officially rooting and stable.
After this two-week “curing” period, my living succulent wreath was ready for its debut. I hung it on a wall in my east-facing hallway, where it receives gentle morning light.
Long-Term Care for Your Masterpiece
- Watering: My golden rule is “soak and dry.” Every 2-3 weeks, depending on climate, I take it down and soak it as described above. This mimics a good desert rain. Never let it sit in water.
- Light: Bright, indirect light is ideal. Some direct morning or late afternoon sun is beneficial, but harsh midday sun can scorch the plants.
- Feeding: Once a month during the growing season (spring/summer), I add a diluted, balanced liquid fertilizer to my soaking water.
Troubleshooting Common Issues
- Leggy Growth: This means it needs more light. Gradually move it to a brighter location.
- Leaves Falling Off: Often a sign of overwatering or physical disturbance. Re-evaluate your watering schedule and ensure the wreath isn’t being bumped.
- Gaps Appearing: As some plants grow, others may not. The beauty of a succulent wreath tutorial is that it’s a living project! You can always take new cuttings and tuck them into any bare spots.
Frequently Asked Questions
How long will my succulent wreath last? With proper care, the core structure can last over a year. Individual plants may outgrow the space or need to be replaced, but you can refresh it indefinitely with new cuttings, making it a sustainable cycle.
Can I hang my wreath outdoors? Yes, but with caution. A protected porch with bright, filtered light is perfect. Avoid areas with heavy rain, frost, or intense, all-day sun. Always check your specific succulent varieties’ cold hardiness.

What is the best time of year to make a succulent wreath? Spring and early fall are ideal. The mild temperatures and active growth help the cuttings root quickly and establish themselves with less stress from extreme heat or cold.
Creating a succulent wreath is a deeply rewarding project. It taught me more about plant care than any potted succulent ever has. It requires observation, patience, and a willingness to learn from small mistakes. The result, however, is a unique, living decoration that grows and changes with time. By following these instructions for a succulent wreath—soaking the base properly, allowing a curing period, and mastering the soak-and-dry watering method—you’ll set yourself up for success. Grab some cuttings, embrace the process, and get ready to create your own piece of living art.





