 bluename
 How to Clean Succulent Leaves: A Step-by-Step Guide from a Plant Lover
There’s a quiet joy in watching your succulent collection thrive. But if you’re like me, you’ve probably noticed a layer of dust settling on those beautiful, plump leaves. It’s more than just an eyesore. That dust can block sunlight, hinder photosynthesis, and even invite pests. For years, I simply admired my plants from afar, hesitant to touch them for fear of harming their delicate farina—that precious powdery coating. I knew I needed to learn the right way to clean succulent leaves, but the “how” was always vague. Through trial, error, and two weeks of meticulous observation, I’ve perfected a safe and effective method. Let me walk you through exactly what I did, the results I saw, and the mistakes I made so you can avoid them.
Why Cleaning Your succulents is Non-Negotiable
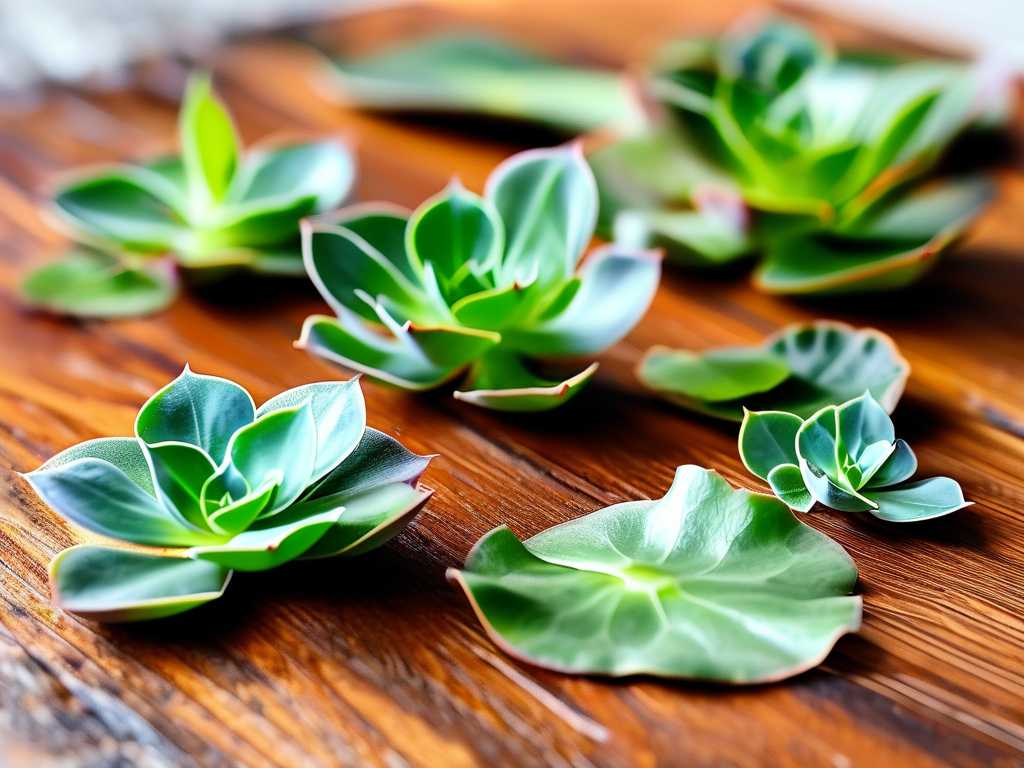
Think of dust on succulent leaves like a film on your car’s windshield. It obscures the light. Succulents rely on every photon for energy, and a dusty surface directly impacts their health and growth rate. Furthermore, dust and debris create a perfect hiding spot for mealybugs and spider mites. A clean plant is a healthy, photosynthetically efficient plant. According to principles echoed by the Royal Horticultural Society (RHS), maintaining plant hygiene is a fundamental step in preventative pest management. It’s not about vanity; it’s about vital plant care.
My Toolkit for Gentle Succulent Leaf Cleaning
I gathered my supplies before starting, ensuring everything was gentle and non-invasive:
- A soft, clean makeup brush or a small, soft-bristled paintbrush (new and dedicated to plants).
- A squeeze bottle or spray bottle with a fine mist setting.
- Distilled water or rainwater (to avoid tap water spots).
- Cotton swabs (Q-tips).
- A soft, microfiber cloth.
- Paper towels for my work surface.
The Step-by-Step Process I Followed
I treated this like a careful ritual, working on one plant at a time in bright, indirect light.
Step 1: The Dry Brush Method For lightly dusty plants, especially those with heavy farina like Echeverias, I started with a dry brush. I gently held a leaf stable with one finger and, using the soft brush, swept from the base of the leaf to the tip in one direction. I never scrubbed back and forth. This method effectively removed loose dust without disturbing the waxy coating. For tight spaces between leaves, a clean, dry cotton swab worked wonders.
Step 2: The Damp Wipe for Stubborn Grime Some of my older Haworthias had stubborn, sticky spots. For this, I slightly dampened a corner of the microfiber cloth with distilled water. I carefully supported the leaf from underneath and gently wiped the surface, again moving in one direction. I immediately dabbed the leaf dry with the dry part of the cloth to prevent water from sitting in the rosette. Crucially, I never sprayed the plant directly.
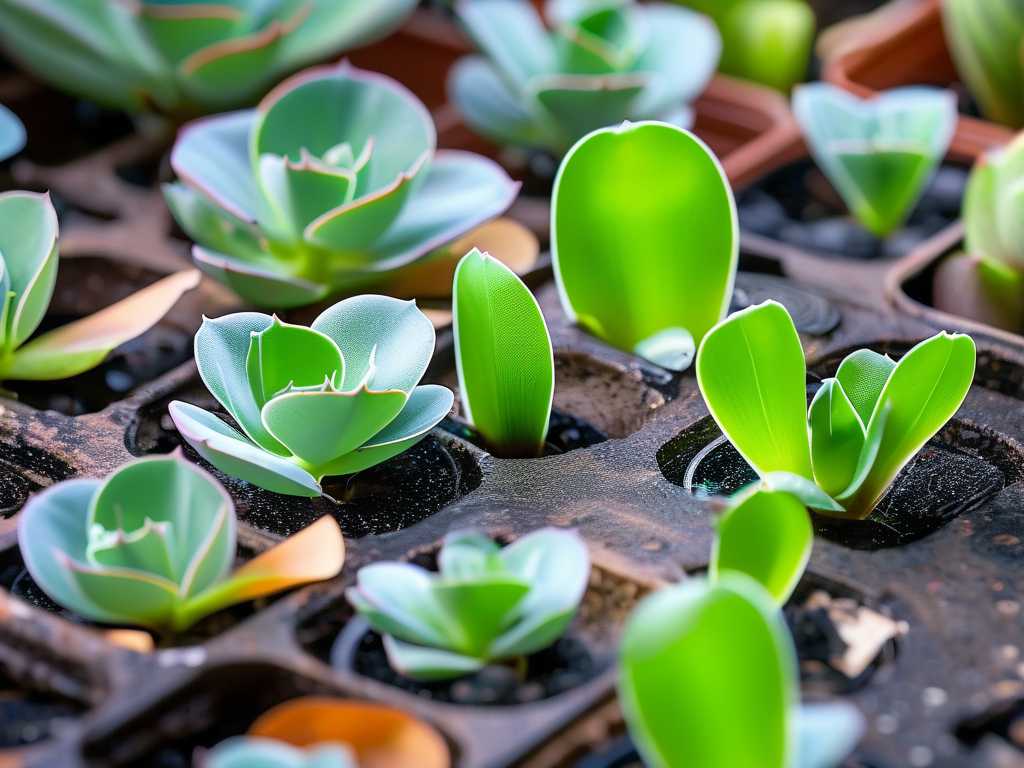
Step 3: Addressing the Base and Soil Pests love to hide where the leaf meets the stem. I used a dry cotton swab to gently dislodge any debris in these crevices. I also brushed away any fallen leaves or dirt from the soil surface to improve airflow and hygiene.
My Two-Week Observation: The Good and The Surprising
I cleaned half of my collection and left the other half as a control group. The differences became clear within days.
Week 1: Immediate Changes The cleaned succulents simply looked brighter. Their colors appeared more vibrant without the gray film of dust. I also noticed a subtle change in their posture; leaves seemed to orient themselves more openly toward the light source. The unwashed plants, in comparison, looked dull.
Week 2: Health and Growth Indicators By the end of the second week, the cleaned plants showed more noticeable firmness in their leaves, indicating efficient water retention. On two specific Echeverias that had been dormant, I observed the very beginnings of new, central growth—a sign of active photosynthesis. The control group remained static. This wasn't a scientific lab, but the side-by-side comparison was convincing evidence that cleaning succulent leaves properly had a tangible benefit.
The Pitfalls I Encountered and How I Fixed Them
My journey wasn’t flawless. Here’s where I went wrong and how you can steer clear.
Mistake 1: Using Tap Water and a Rough Cloth On my first attempt, I used tap water and an old t-shirt cloth. The result? Ugly white mineral spots on the leaves and, horrifyingly, I accidentally rubbed off the farina on a prized Perle von Nurnberg, leaving shiny, permanent scars.
- The Fix: I switched exclusively to distilled water and a dedicated, ultra-soft microfiber cloth. For plants with farina, I now use only the dry brush method.
Mistake 2: Getting Water Trapped in the Rosette I once misted a Sempervivum from above and didn’t dry it. Days later, the center of the rosette was mushy and rotten—a classic case of rot from standing water.
- The Fix: I never introduce water from above. If a damp cloth is needed, I tilt the plant to ensure no runoff pools in the center. After any damp cleaning, I use a dry cotton swab to wick away moisture from tight spaces and place the plant in a spot with good air circulation to dry completely.
Mistake 3: Over-cleaning and Causing Stress In my enthusiasm, I cleaned some plants too frequently, handling them every few days. A few started to show signs of stress, with leaves becoming slightly limp.
- The Fix: I learned that less is more. Now, I incorporate cleaning dusty succulent leaves into my regular monthly care routine, or when visible dust accumulation warrants it. This minimizes handling and allows the plants to thrive undisturbed.
Expert Tips for Specific Succulent Types
Not all succulents are the same. The American Horticultural Society (AHS) emphasizes understanding individual plant needs. For fuzzy succulents like Kalanchoe tomentosa (Panda Plant), never use water. A dry brush is the only safe tool. For smooth, glossy succulents like Jade Plants, a damp cloth wipe is safe and effective. Always research your specific variety’s tolerance first.
When to Avoid Cleaning Succulent Leaves
There are times to leave your plants alone. Do not clean newly propagated babies, leaves that are damaged or cracked, or any plant that is underwatered and shriveled. Most importantly, never clean a plant that is in the middle of a dormancy period or showing signs of disease; address the health issue first.
Your Questions, Answered
Can I use leaf shine products on my succulents? Absolutely not. These products clog the stomata (pores) on the leaves, effectively suffocating the plant. They are detrimental to succulent health. Clean, natural leaves are always best.
How often should I clean my succulent’s leaves? There’s no fixed schedule. Let visibility be your guide. For indoor collections, a thorough cleaning every 4-8 weeks is usually sufficient unless you live in a particularly dusty environment. Outdoor plants may need it less frequently if rain does the job.
What if my succulent has pests, not just dust? Cleaning is the first physical step. Use a cotton swab dipped in isopropyl alcohol (70%) to directly dab and remove pests like mealybugs. Follow this with a gentle cleaning using the methods above. For severe infestations, isolation and insecticidal treatment are necessary.
Seeing my succulents glow after a proper cleaning is deeply satisfying. It’s a simple act of care that directly contributes to their vitality. By using the right tools—soft brushes, distilled water, and a gentle touch—you can remove dust without harm. Remember to work gently, avoid water traps, and clean only when needed. This small addition to your care routine will ensure your succulent leaves are not just clean, but actively breathing and thriving, ready to soak up the sun and grow.





