 bluename
 Low-Maintenance succulents for Busy People: My 2-Week, Hands-On Survival Guide
Let’s be honest. You love the idea of a green, vibrant home, but your calendar is a masterclass in chaos. The dream of lush indoor plants often wilts under the reality of forgotten waterings and sun-starved windowsills. I’ve been there. As a plant enthusiast who also juggles a demanding schedule, I’ve learned that the solution isn’t giving up on greenery—it’s choosing the right kind. That’s where low-maintenance succulents for busy people come in. They’re touted as the ultimate survivors, but do they really thrive on pure neglect? I decided to put this to the test with a real-world, two-week experiment, tracking my steps, the results, and every stumble along the way.
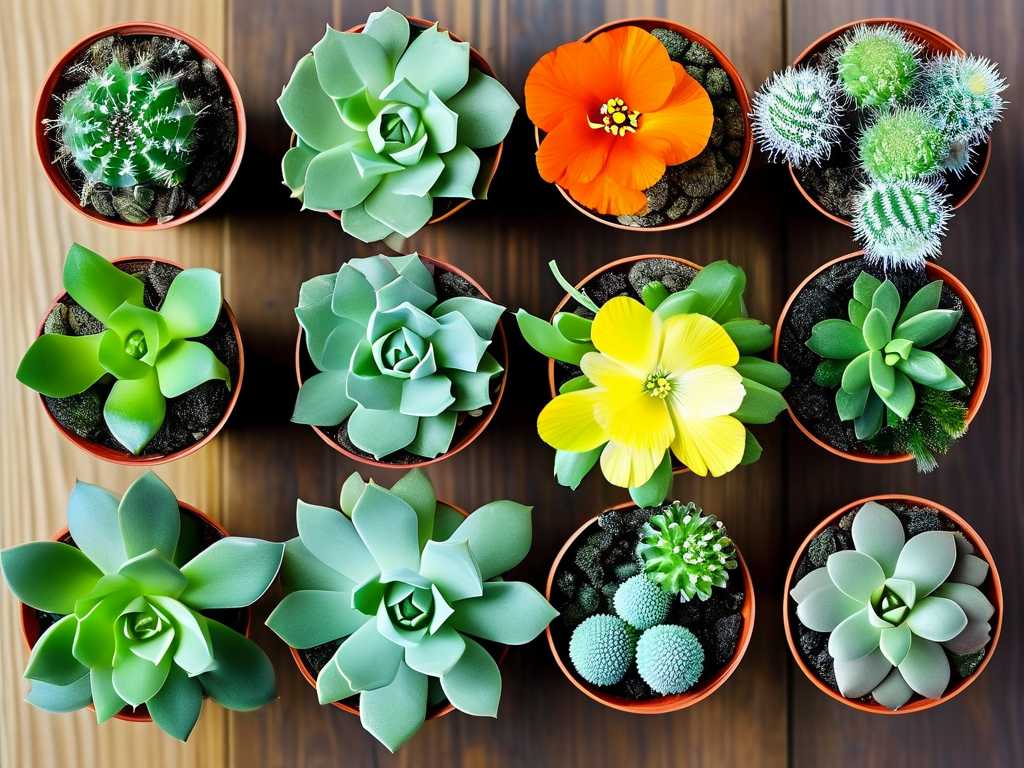
My mission was simple: create a thriving succulent setup with minimal, intentional care, perfect for a busy lifestyle. I focused on three proven champions: the sculptural Echeveria, the sprawling Sedum Morganianum (Burro’s Tail), and the incredibly hardy Zamioculcas zamiifolia (ZZ Plant). While the ZZ Plant is technically not a true succulent, its succulent-like qualities make it a staple in any low-maintenance indoor garden.
Week 1: The Foundation – Planting with Purpose
The journey begins with setup. Getting this wrong is the most common pitfall, leading to root rot—the arch-nemesis of succulents.
My Step-by-Step Process:
- Pot Selection: I chose terracotta pots with large drainage holes for each plant. Terracotta is porous, allowing soil to dry evenly, which is critical. The hole is non-negotiable.
- Soil Science: I bypassed standard potting soil, which retains too much moisture. Instead, I used a specialized cactus and succulent potting mix. To amp up drainage further, I mixed in a handful of perlite, a lightweight volcanic mineral. According to the Royal Horticultural Society (RHS), a well-draining medium is the single most important factor for succulent health.
- The Planting: I gently removed each plant from its nursery pot, loosened the root ball slightly, and placed it in the new pot. I filled around it with my soil mix, ensuring the base of the plant sat just above the soil line to prevent stem rot.
- Initial Watering & Placement: Here was my first critical decision. Contrary to instinct, I did not water them immediately. I placed all pots in a bright spot with indirect sunlight (an east-facing windowsill) and waited a full 48 hours. This allows any minor root damage from repotting to callous over, preventing infection.
The “Gotcha” Moment (My First Mistake): My Echeveria had a few tightly packed, dying leaves at the bottom. I initially left them, thinking they’d fall off naturally. By Day 3, I noticed a slight softness at the stem near these leaves—a warning sign for rot. I immediately un-potted it, removed all compromised leaves with a sterile knife, let the stem dry for a few hours, and replanted it in fresh, dry mix. Solution: Always inspect and remove any dead or dying material before or immediately after repotting. It’s a gateway for decay.
Week 2: Observing the Rhythm of Neglect
This was the observation phase. My care routine was deliberately minimalist.
The Care Protocol:
- Light: They remained on the bright, indirect windowsill. The American Horticultural Society (AHS) notes that most succulents prefer at least 6 hours of bright, indirect light daily. Direct afternoon sun can scorch them, so I was cautious.
- Watering (The Big Test): I resisted all watering urges. On Day 10, I performed the “taco test” on the Echeveria’s lower leaves: a healthy, hydrated leaf bends easily; a thirsty one feels thin and will gently fold like a taco. Mine folded. For the Sedum, I checked for slight puckering on the leaves. The ZZ plant, of course, showed no signs of thirst—they famously store water in their potato-like rhizomes.
- The First Drink: On Day 11, I gave the Echeveria and Sedum a thorough “soak and dry” watering. I took the pots to the sink and watered slowly until water ran freely out of the drainage hole, ensuring the entire root ball was moistened. I then let them drain completely before returning them to their spot. The ZZ plant was left untouched.
The 2-Week Results: A Story of Resilience
- Echeveria: After its early scare and the single watering, it looked plumper and more vibrant. The center showed new, tight growth. It clearly appreciated the deep, infrequent drink.
- Sedum Morganianum: The beads felt firmer. No stems dropped, which is a common issue with overhandling or overwatering. It was quietly thriving.
- ZZ Plant: Unchanged, in the best way possible. It was a statue of green resilience, perfectly content.
The experiment confirmed that a busy plant parent can successfully keep these plants alive and even happy. The key is not daily attention, but the correct sporadic intervention based on clear signals from the plant, not the calendar.
Building Your Own Fail-Safe Succulent Corner
Based on my trial, here’s your actionable blueprint for creating a drought-tolerant home garden that fits your busy life.
1. Choose the Right Warriors for Your Space Assess your light. For bright spots: Echeveria, Aloe, Haworthia. For lower light: ZZ Plant, Snake Plant (Sansevieria), and the cast-iron Gasteria. Start with these forgiving types.
2. Master the “Soak and Dry” Method This is non-negotiable. Never mist or give small sips. Water only when the soil is completely dry and the plant shows signs of thirst (wrinkled leaves, less firmness). Then, drench it. This mimics the natural desert downpours they’ve evolved for.
3. Light: Their Non-Negotiable Fuel While they need less water, they crave light. A bright spot is essential. If your space is dim, consider a simple grow light for a few hours a day. Leggy, stretched-out plants are crying out for more sun.
4. The Quarterly Check-In Every 3-4 months, do a two-minute health check. Look for pests (mealybugs look like tiny cotton balls), remove any dead leaves, and dust the leaves so they can breathe and photosynthesize efficiently. This tiny bit of proactive care prevents big problems.
Navigating Common Hurdles: My Troubleshooting Notes
- The Squishy Stem: This is overwatering. Act fast. Cut above the rot with a sterile tool, let the cutting callous for 2-3 days, then replant in dry mix. Don’t water for at least a week.
- Leaf Drop (Especially Sedum): Often caused by too much handling or sudden changes in environment. Find a spot and leave it be. Also, ensure it’s not sitting in a cold draft.
- Brown, Crispy Patches: Usually sunburn. Move the plant to a location with bright but indirect light. Acclimate plants slowly to stronger sun.
Your Questions, Answered
How often should I really water my succulents? Throw away the schedule. In my setup, watering every 10-14 days in a warm, bright room was perfect. In cooler or lower-light conditions, it could stretch to 3-4 weeks. Always let the plant’s condition and dry soil be your guide.
Can I keep them in a room with no natural light? It’s very challenging for true succulents like Echeveria. They will become etiolated (stretched and weak). For very low-light rooms, your best bets are the ZZ Plant or Snake Plant. They are the ultimate easy-care houseplants for dark corners.
What’s the one biggest mistake beginners make? Overwatering, without a doubt. It’s an act of love that kills. We see dry soil on top and assume the whole pot is dry. The “soak and dry” method in a pot with a drainage hole is your greatest defense. When in doubt, wait another week to water.
Embracing low-maintenance succulents is about shifting your mindset from constant caretaker to strategic observer. These plants don’t need your daily attention; they need your understanding of their simple, ancient rhythm of drought and downpour. By investing a little time in the perfect setup—the right pot, soil, and light—you secure weeks, even months, of effortless enjoyment. My two-week test proved that even with a packed life, you can cultivate a serene, green oasis that asks for little but gives back so much in calm and beauty. Start with one resilient plant, apply these hands-on lessons, and watch your confidence—and your collection—grow.





