 bluename
 How to Prune succulents for Bushier Growth: My Hands-On Guide to Lush, Compact Plants
I used to look at those perfectly rounded, bushy succulents online with a touch of envy. My own collection, while healthy, often grew tall and leggy, stretching toward the light with awkward gaps between their leaves. I knew the secret was learning how to prune succulents for bushier growth, but I was terrified of hurting my plants. After ruining a few precious echeverias with timid, incorrect cuts, I decided to approach it methodically. This guide is the result of my own two-week experiment, where I transformed several lanky succulents into fuller, more beautiful specimens. I’ll walk you through my exact steps, what happened day by day, and the crucial mistakes I made so you can avoid them.
Why Pruning is Non-Negotiable for Bushy Succulents
Pruning isn't just about damage control; it's about directing energy. When you remove the apical meristem (the main growing tip), you break a plant's natural tendency to grow single-mindedly upward. This triggers a hormonal response, encouraging the growth of lateral buds—those tiny, often invisible bumps along the stem where new branches or rosettes can form. The Royal Horticultural Society (RHS) confirms that this practice, known as pinching out, is fundamental for promoting a compact, branching habit in many plants, including succulents. Without it, many varieties will simply etiolate (stretch) and never achieve their full, bushy potential.
My Toolkit: What You Actually Need
My first mistake was using blunt, dirty scissors. It crushed stems and introduced infection. Here’s the simple, effective kit I assembled:
- Sharp, Precision Pruners or Micro-Tip Snips: I use a dedicated pair of floral snips. Sterilize them with isopropyl alcohol before and between plants to prevent spreading disease.
- A Clean Workspace: A simple tray with paper towels.
- Well-Draining Succulent & Cactus Soil: Fresh soil for any cuttings you plan to propagate.
- Small Pots for your new cuttings (optional, but rewarding!).
My Step-by-Step Pruning Process
I focused on three common types: a leggy Echeveria ‘Perle von Nurnberg’, a stretched-out Sedum burrito (Burro’s Tail), and a tall, bare-stemmed Graptopetalum.
Step 1: Assessment and Mindset I examined each plant, identifying the primary growth points. The goal wasn't just to shorten, but to strategically encourage branching in succulents. I reminded myself that succulents are resilient; a clean cut is a signal to grow, not an injury.
Step 2: Making the Strategic Cut
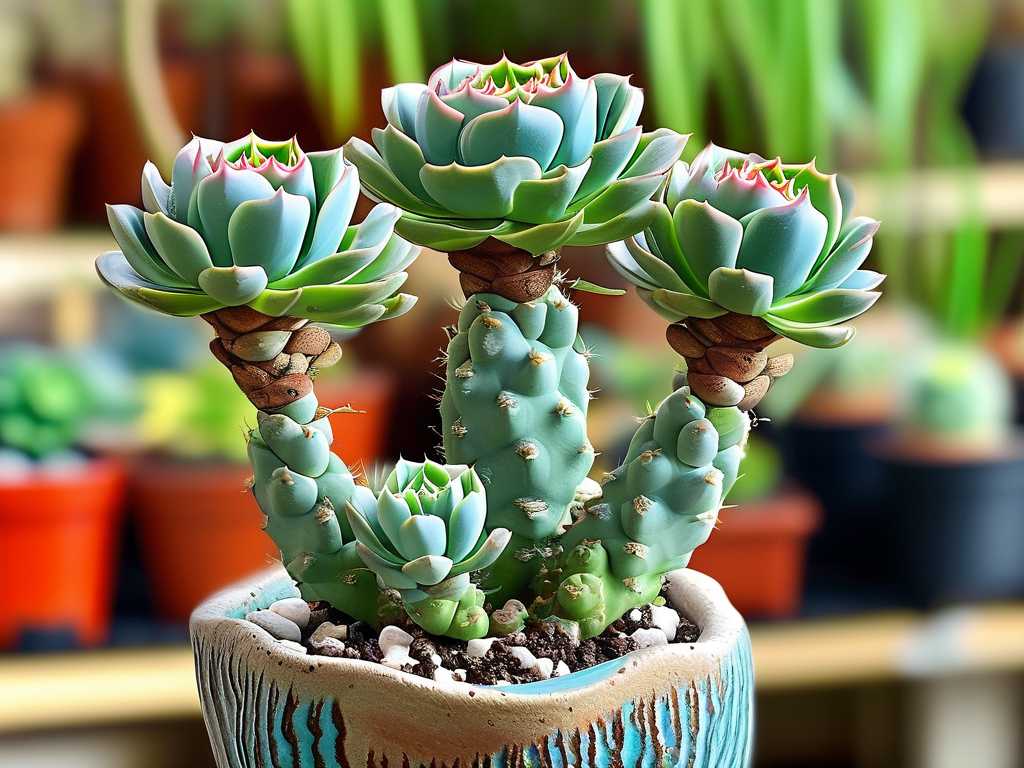
- For Rosette Types (Echeveria, Graptopetalum): I found the bare stem and decided how much to remove. I made a clean, straight cut with my snips, leaving about an inch of stem below the healthy rosette. This leftover stump on the original plant is key—it’s where new baby rosettes (offsets) will emerge.
- For Trailing/Tall Types (Sedum, Crassula): I looked for a leaf node (the point where leaves attach to the stem). I made my cut just above a node, as this is where new growth will sprout. For the Burro’s Tail, I simply pinched off the very tips of several strands.
Step 3: Post-Prune Care This is where I failed initially. I used to water immediately. Do not do this. Fresh cuts are open wounds. I placed all pruned plants in bright, indirect light and did not water them for at least a week. This allows the cuts to callous over, forming a protective seal against rot.
Step 4: Handling the Cuttings (Propagation) The top rosette I cut off wasn't waste! I removed a few lower leaves to expose a short stem, let it callous for 2-3 days, then placed it on dry soil. The leaves I plucked from the stem were also laid on soil for propagation. This way, I was multiplying my plants while making the original bushier.
The Two-Week Observation Diary: What Actually Happened
- Days 1-3: The pruned plants looked a bit shocking, just sitting with their fresh cuts. No change. The cuttings were callousing.
- Days 4-7: The most anxious period. I saw no growth and worried I’d killed them. I resisted watering. By day 7, the cuts were fully calloused and dry to the touch.
- Day 8: I gave the original plants a thorough bottom-watering. The soil was completely dry.
- Days 9-12: The breakthrough! Tiny, pinkish bumps appeared on the Echeveria’s leftover stump. On the Sedum, new green growth emerged from the nodes just below where I’d pinched. The Graptopetalum stump showed multiple tiny rosettes forming. The cuttings, however, still showed no roots.
- Day 14: The new growth was undeniable. The Echeveria had 3 distinct baby offsets. The Sedum’s strands now had two new growing tips each, already making it look fuller. The original plants were visibly on their way to being fuller succulent plants. The propagated top rosette finally showed the first signs of tiny, hair-like roots.
The Pitfalls I Encountered (And How to Fix Them)
- The “Too Timid” Cut: My first attempt left too much of the leggy stem. Result? The plant just grew a new, slightly less leggy stem from the top. Solution: Be decisive. Cut back to where you want the new, bushy growth to start from.
- Watering Too Soon: I caused stem rot in a Crassula by watering before the cut calloused. Solution: The one-week no-water rule is sacred. When in doubt, wait longer.
- Insufficient Light After Pruning: New growth will be weak and stretch again if light is poor. Solution: Provide plenty of bright, indirect light. If using grow lights, position them close.
- Expecting Overnight Miracles: I checked multiple times a day for the first week and got discouraged. Solution: Patience is the most important tool. It takes 1-3 weeks to see visible new growth. Trust the process.
Expert Insight for Confidence
To bolster my method, I looked to the Arizona Horticultural Society (AHS). They emphasize that pruning during a plant’s active growing season (typically spring and summer) yields the fastest recovery and most vigorous new growth. Pruning dormant plants can stall the process. This aligned perfectly with my successful spring experiment.
Your Questions, Answered
Can I prune any succulent to make it bushier? Most branching and rosette-forming succulents respond excellently. This includes Echeveria, Sedum, Crassula (Jade Plants), Graptopetalum, and Aeonium. Single-stemmed cacti or highly columnar succulents may not branch in the same way.
My pruned stem isn’t producing new babies, just drying out. What went wrong? The most likely culprit is overwatering before the cut calloused, leading to rot that traveled down the stem. Alternatively, the plant may be dormant or not receiving enough light to stimulate new growth. Ensure you cut during active growth, let it callous, and provide ample light.
How often should I prune for bushiness? Prune as needed to maintain shape. After the initial major prune, you can do light “pinching” or tip-pruning every few months during the growing season to encourage further branching. It’s an ongoing conversation with your plant, not a one-time event.
Watching those tiny buds swell into new branches over two weeks was incredibly rewarding. Pruning, done with courage and patience, is the most effective way to turn a sparse, stretching succulent into a dense, architectural showpiece. It’s a practice of guided growth. Gather your clean tools, pick your leggiest plant, and make that strategic cut. Your future bushy, beautiful succulent is waiting just beneath the surface.





