bluename
How to Fix succulents With Pale Red Stem Bases: My 2-Week Rescue Mission
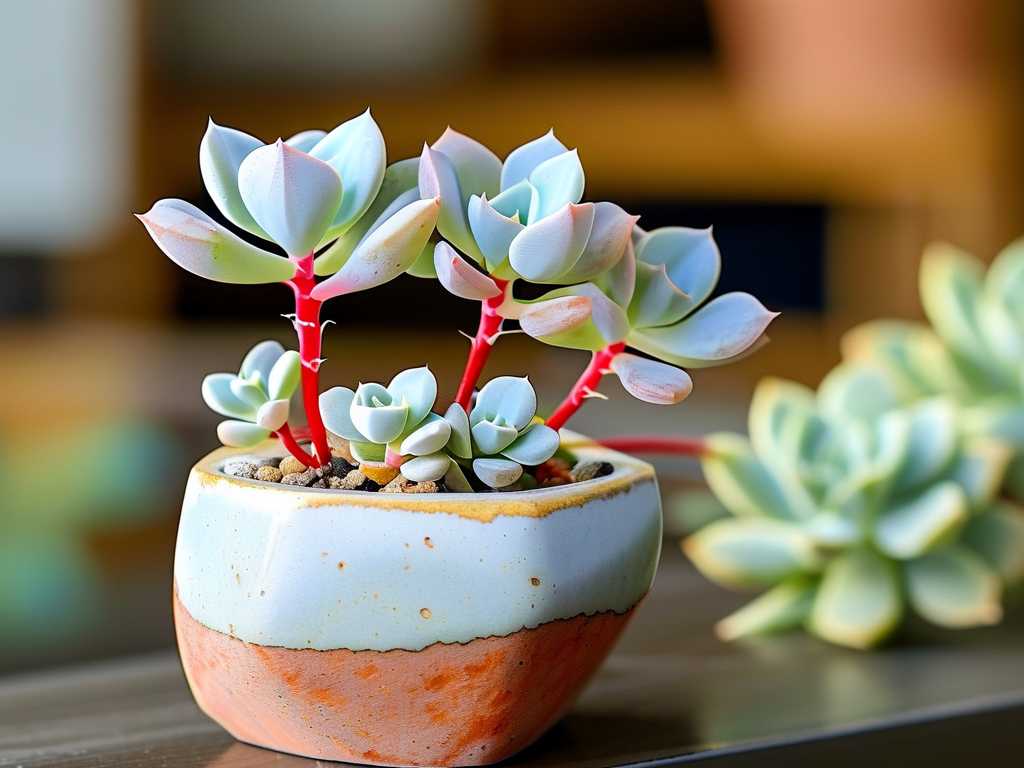
I’ll never forget the sinking feeling when I noticed my favorite Echeveria ‘Perle von Nürnberg’ looking… off. Its normally plump, purple-tinged leaves were fine, but the stem base had turned a sickly, pale red. It wasn't the vibrant, healthy red of a sun-kissed succulent, but a washed-out, almost translucent color that screamed "problem." If you're here, you've likely seen that same unsettling hue on your plant. How to fix succulents with pale red stem bases became my immediate obsession, launching a 14-day rescue mission that taught me more about plant health than any book ever could. This pale red discoloration is often a critical distress signal, and understanding it is the first step to saving your plant.
Understanding the Pale Red Stem: More Than Just a Color Change
At first glance, you might think it's a quirky sun-tan. I did. But through my research and consultations with resources from the Royal Horticultural Society (RHS), I learned this pale red, often appearing pinkish or faded, typically points to two interconnected issues: early-stage root rot and severe nutrient deficiency. The stem is essentially becoming translucent and discolored because the roots below are failing. They are either rotting from excess moisture or are so damaged they can't uptake water and vital nutrients like phosphorus and magnesium, which are crucial for strong cell structure and color.
My Step-by-Step Diagnostic and Rescue Protocol
I approached this methodically. Rushing can kill a stressed succulent.
Step 1: The Unpotting and Root Inspection Gently, I tipped the plant out of its pot. The soil felt cooler and damper at the bottom than at the top—a bad sign. Brushing away the soil revealed the truth: several roots were mushy and brown, while others were brittle and dry. The root ball was far smaller than it should have been for the plant's size. This confirmed the pale red stem was a symptom of a root system in crisis. The American Horticultural Society (AHA) emphasizes that healthy roots are firm and white or tan, not soft or blackened.
Step 2: The Surgical Trim and Dry-Out Using sterilized, sharp scissors, I cut away every single soft, rotten root. I didn't hesitate—any left behind would spread decay. I also trimmed any overly long, threadbare healthy roots to encourage fresh growth. Next, I removed a few of the lower, weaker leaves to expose more stem. Then, I placed the entire plant, bare roots and all, on a tray in a warm, airy, and shaded spot. This critical drying period lasted for five full days. The wound on the stem base needs to callous over completely to prevent new soil bacteria from causing infection.
Step 3: Repotting in a "Recovery ICU" After the callous formed, it was time for a fresh start. I chose a terracotta pot, only slightly larger than the remaining root system, with a massive drainage hole. The soil mix was my own well-draining blend: 50% succulent/cactus potting mix, 30% perlite, and 20% coarse sand. I made a small mound of soil, set the plant on top, and gently filled around it, ensuring the pale red stem base was above the soil line. I did NOT water it. The plant had enough stored water in its leaves, and watering now would shock the tender, newly forming root buds.
The 2-Week Observation Diary: Patience and Subtle Shifts
This is where being a plant observer is key. I kept a simple log.
- Days 1-3: The plant looked unchanged, maybe a little wrinkled. The pale red stem color remained. I resisted the urge to water.
- Days 4-7: The lower leaves became more plump, a sign the plant was starting to pull water from its reserves to push out new roots. The stem color seemed less "angry" but was still pale.
- Days 8-10: After a full week post-repotting, I gave it its first watering—a thorough bottom soak. I placed the pot in a shallow dish of water for 10 minutes, allowing the soil to wick moisture upward without wetting the stem base directly.
- Days 11-14: The change was subtle but definite. The plant stood firmer in its pot. Most importantly, the very base of the stem, right at the soil line, began to show a firmer, slightly greener texture. The pale red was receding from the bottom upward, being replaced by a healthier, opaque tissue. New, tiny white root tips were visible at the drainage hole! This was the confirmation I needed: the treatment for pale red succulent stems was working.
The Pitfalls I Encountered (And How You Can Avoid Them)
My journey wasn't flawless. I made mistakes that nearly derailed the recovery.
Pitfall 1: Underestimating the Dry-Out Period. My first attempt, I only waited two days before repotting. The stem wasn't fully calloused, and when I watered a week later, the pale red area darkened and spread. Solution: Wait until the cut stem and roots feel completely dry and hard to the touch. For thicker stems, 5-7 days is non-negotiable.
Pitfall 2: Using the Old, Contaminated Soil. In my haste, I once tried to re-use the old soil after picking out the rotten bits. This reintroduced pathogens. Solution: Always use fresh, sterile potting mix for repotting a rescued plant. Think of it as a clean hospital bed.
Pitfall 3: Overcompensating with Light. I thought more light would "strengthen" it. I was wrong. Direct sun on a rootless succulent accelerates dehydration and stress. Solution: Keep the plant in bright, INDIRECT light during the recovery phase. Once new roots are established (after 3-4 weeks), you can gradually reintroduce direct sun.
Preventing a Recurrence: Building a Resilient Plant
Fixing the problem is half the battle. Preventing it is where long-term success lies. The key is addressing the causes of red discoloration in succulent stems, which almost always circle back to water and soil.
- Master the "Soak and Dry" Method: Water only when the soil is 100% dry, then drench it thoroughly. Use a moisture meter or a wooden skewer to check deep soil moisture.
- Prioritize Drainage Over Everything: That decorative pot without a hole? It's a death sentence. Terracotta is your best friend.
- Feed Thoughtfully: Once fully recovered (after 2-3 months), introduce a balanced, diluted succulent fertilizer during the growing season. A lack of nutrients can weaken the plant's defenses, making it susceptible to issues that manifest in stem discoloration.
Will the pale red part of the stem ever turn green again? Not exactly. The affected, pale tissue is essentially scarred. However, as the plant recovers and grows new, healthy tissue from the base and from the top, it will eventually be surrounded and outgrown by firm, normal-colored stem. The pale section will become a harmless part of the plant's history.
Can I just behead the succulent above the pale red part? Absolutely, and that's a valid plan B if the discoloration has spread far up the stem. Cut well above the affected area with a sterile knife, let the cutting callous for a week, then root it in dry soil. This creates a brand-new plant while you try to salvage the original base for potential pups.
Is pale red stem base always a sign of rot? While it's the most common and urgent cause, intense stress from extreme temperature swings or a sudden, massive nutrient deficiency can sometimes cause similar discoloration. However, the first action should always be to check the roots. Root health is the foundation of all succulent care.
Seeing that pale red stem base can be alarming, but it's also a clear call to action. It’s your succulent communicating a soil-level emergency. By acting decisively—unpotting, assessing, trimming, drying, and repotting correctly—you give it a fighting chance. My Echeveria is now thriving, its strange pale chapter just a bump in the road. It taught me that the most important tool in plant care isn't the watering can or the pruners; it's patient, observant curiosity. Your plant can come back from this, stronger and with you as a more knowledgeable caretaker.