bluename
How to Choose succulents for Mountain Rock Wall Gardens: A Hands-On Guide from a Fellow Enthusiast
I remember staring at my first, crumbling attempt at a mountain rock wall garden. The vision was clear in my head: a cascading tapestry of succulents clinging to a rugged stone face, thriving with minimal care. The reality, two weeks later, was a sad collection of wilted, mushy, or sun-scorched plants. I had chosen them for their looks alone, a classic beginner's mistake. If you're dreaming of building a resilient, beautiful living wall but are overwhelmed by which plants will actually survive and thrive, you're in the right place. This guide is born from my own trials, errors, and eventual successes in choosing succulents for mountain rock wall gardens. I'll walk you through my exact selection process, what I observed over a critical two-week establishment period, and the hard-learned lessons that will save your garden.
Understanding the Unique Challenge of a Rock Wall Environment
A mountain-style rock wall garden isn't just a pretty pot. It's a micro-ecosystem with specific, often harsh, conditions. Before we talk about plants, we need to understand their future home.
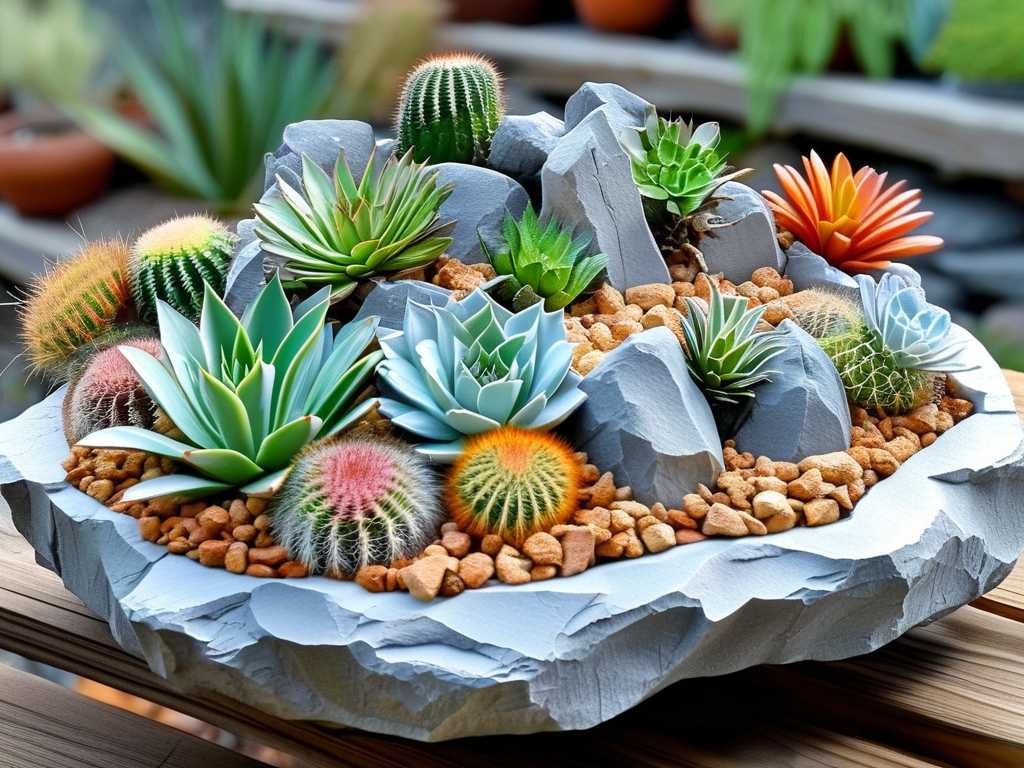
The primary challenges are extreme drainage, limited soil volume, and intense exposure. Water runs off almost instantly. The shallow planting pockets mean roots have little room and can't seek out moisture. Furthermore, these walls often face full sun, baking the stones and the plants anchored to them. According to the Royal Horticultural Society (RHS), the key to success in such environments is selecting plants that are naturally adapted to sharp drainage and drought, emphasizing that "the choice of plant is critical."
My first wall failed because I used generic succulents from a big-box store, ones that preferred deeper soil and more consistent moisture. They simply couldn't handle the rigors of the wall.
My Step-by-Step Process for Selecting the Right Succulents
After my initial failure, I developed a methodical approach. Here is the exact process I now follow, which has led to multiple thriving walls.
Step 1: Prioritize Hardiness and Growth Habit Over Color My initial checklist now starts with two non-negotiable traits. First, I only consider succulents hardy to at least one zone colder than my own. This builds in a buffer for the wall's exposed conditions. Second, I look for specific growth habits: trailing, mat-forming, or tight rosettes. Upright, heavy succulents often struggle to anchor and can topple out.
For my most recent wall project, I completely ignored the "color scheme" until I had a list of functionally suitable candidates. This was a mental shift that changed everything.
Step 2: Research and Source from Specialists I stopped browsing general garden centers. Instead, I turned to specialized alpine plant nurseries and reputable online succulent sellers. Their descriptions often include crucial terms like "alpine," "crevice dweller," or "excellent for walls." The Alpine Garden Society (AGS) plant database became my best friend for verifying a plant's natural habitat and needs.
I compiled a shortlist: Sedum spurium 'Dragons Blood' (mat-forming), Sempervivum arachnoideum (tight rosettes, handles cold), Sedum dasyphyllum (trailing, tiny leaves), and Delosperma cooperi (ice plant, aggressive ground cover).
Step 3: The "Pocket Test" and Soil Preparation Once my plants arrived, I didn't just plop them in. I conducted what I call the "Pocket Test." For each planting pocket in my tufa rock wall, I assessed its depth, orientation (sun exposure), and size. I matched plants to pockets: the larger Sedum spurium plugs went into wider, soil-rich pockets, while the tiny Sedum dasyphyllum fragments were tucked into shallow crevices.
The soil mix is paramount. I use a brutally fast-draining recipe: 2 parts coarse horticultural grit or pumice to 1 part succulent potting soil. This mimics the poor, rocky mountain soils these plants love.
Step 4: Strategic Planting and the Initial Watering Planting day is delicate. I gently tease apart root balls to encourage outward growth. I nestle the plant in, backfill with my gritty mix, and use small pieces of stone to gently wedge the plant in place for initial stability—no packing the soil tightly.
Here's the critical part: the first watering. I used to drown them, thinking they needed a deep drink to settle. Big mistake. Now, I use a watering can with a fine rose to gently mist the entire wall, settling the dust-like soil around the roots. I do this for two consecutive days. Then, I stop.
The Crucial Two-Week Observation Period: What Actually Happened
This is where knowledge meets reality. I monitored my new wall garden twice daily for the first two weeks. Here’s my log of what to really expect.
Days 1-3: The Adjustment Phase The plants looked a little shocked, which is normal. Some outer leaves on the Sedum spurium wrinkled slightly. The key was to resist watering again! The wall was holding minimal moisture at the root level, and surface wetness was gone within an hour. This was a good sign my soil mix was working.
Days 4-7: Root Establishment and First Signs of Trouble By day five, I noticed one Delosperma cutting starting to yellow. Upon investigation, I found its pocket was slightly concave, collecting a tiny bit of morning dew and not draining as fast as its neighbors—a micro-climate pitfall. I carefully lifted it, added a handful of extra grit to the pocket base for elevation, and replanted it. Problem solved.
The Sempervivum and smaller Sedums, however, began to look settled. Their colors intensified slightly under the sun.
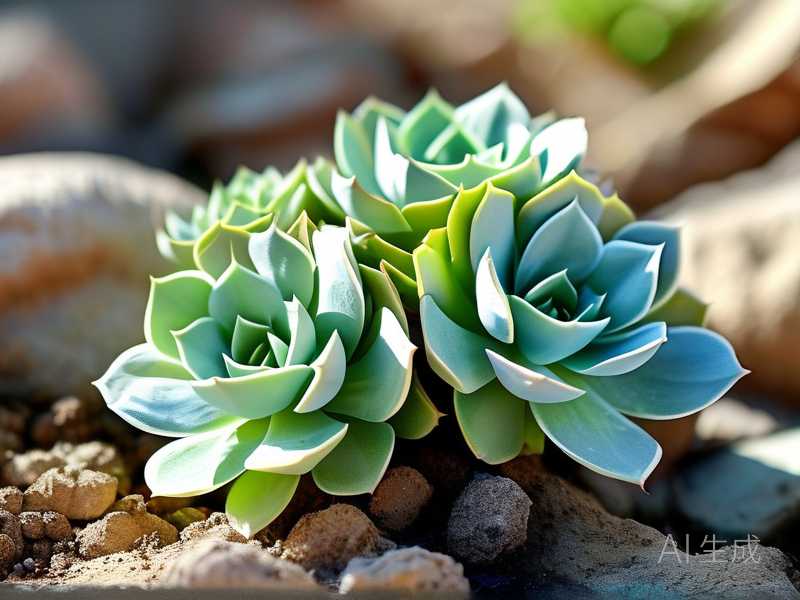
Days 8-14: Signs of Success and Active Growth This was the rewarding phase. The Sedum dasyphyllum in its shallow crevice, which I was most worried about, showed the first sign of new, tiny blue-green leaves at its tips. This was proof it had rooted. The Sempervivum rosettes felt firm to the touch, not mushy or dry.
By the end of week two, the wall was no longer a collection of individual plants but the beginning of a community. No further losses occurred after my day-seven intervention. They had successfully navigated the most vulnerable period.
Common Pitfalls I've Faced (And How to Fix Them)
Let me save you the heartache by sharing my direct failures.
Pitfall 1: Choosing for Aesthetics, Not Adaptation. My first wall featured beautiful Echeveria 'Lola'. They lasted a week before succumbing to rot. They are not mountain plants; they are Mexican natives that dislike cold, wet feet. Solution: Let hardiness zones and natural habitat guide you first. Fall in love with the tough plants that belong there.
Pitfall 2: Overwatering in the Name of "Care." This is the #1 killer. Our instinct is to nurture. In a rock wall, nurturing means neglect. Solution: After the initial settling mist, do not water for at least 2-3 weeks, unless you see severe, consistent shriveling. Always err on the side of dryness.
Pitfall 3: Using Rich, Moisture-Retentive Soil. Standard potting soil is a death sentence. It holds water, suffocates roots, and leads to rot. Solution: Invest in inorganic amendments like pumice, perlite, or coarse grit. Your soil mix should look more like a gravel path than garden soil.
Pitfall 4: Ignoring Aspect and Micro-climates. A pocket on the sun-baked south face is a different world from a shaded north crevice. Solution: Map your wall. Place sun-lovers like Delosperma and Sedum rupestre on hot faces. Use shade-tolerant sedums like Sedum ternatum (a North American native woodland creeper) on cooler, shadier sections.
Bringing Your Mountain Rock Wall Vision to Life
Building a succulent rock wall garden is an exercise in partnership with nature. You provide the architecture and the right plants; they provide the breathtaking, living art. By focusing on plants that are naturally evolved for alpine and rocky outcrops—true succulents for rock gardens—you work with their instincts, not against them. The result is a low-maintenance, ecologically thoughtful feature that gains character with every season.
Will my wall garden survive the winter? It depends entirely on your plant choices and local climate. By selecting succulents hardy to zones 4 or 5 (like many Sedum and Sempervivum), your wall can easily survive freezing temperatures and snow, emerging beautifully in spring. Avoid tender succulents like most Echeveria if you experience frost.
How often should I fertilize my succulent wall? Rarely to never. These plants are adapted to nutrient-poor soils. A light application of a diluted, balanced fertilizer once in early spring is more than sufficient. Over-fertilizing leads to weak, leggy growth that is prone to damage.
What if a plant dies or a section becomes bare? Don't panic! This is normal, especially as you learn. The beauty of these systems is their ease of repair. Simply scrape out the old soil, refresh it with your gritty mix, and tuck in a new plant or even a cutting from another part of your wall. It will knit itself back together in time. The journey is part of the reward, teaching resilience—for both the gardener and the garden.