bluename
How to Trim succulents to Promote Bushier Stem Sections
I have been growing succulents for years, and one problem I kept running into was leggy, stretched-out stems that looked sparse rather than full and compact. After trial and error, I discovered that knowing how to trim succulents to promote bushier stem sections is the key to transforming these plants into lush, vibrant clusters. In this guide, I will share my real step-by-step process, the results I observed over two weeks, and the mistakes I made along the way.
Why Trimming Succulents Matters for Bushier Growth
When succulents become leggy, it is often due to insufficient light or natural growth patterns. Trimming encourages branching by triggering dormant buds along the stem. According to the Royal Horticultural Society (RHS), pruning succulents at the right time stimulates new growth and prevents etiolation, which is the abnormal elongation caused by low light. The American Horticultural Society (AHSA) also emphasizes that regular trimming improves plant shape and health.
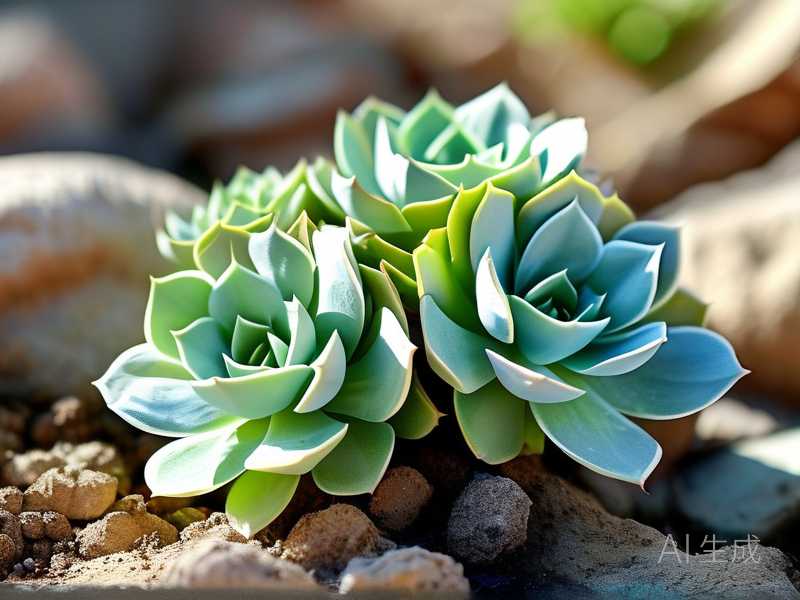
I remember my first Echeveria looking like a tall, skinny tower with leaves only at the top. After researching, I learned that cutting the stem forces the plant to produce multiple offsets, leading to a bushier appearance. This technique works for many succulents, including Sedum, Crassula, and Aeonium.
My Step-by-Step Process for Trimming Succulents
Tools I Used and Prepared
Before starting, I gathered my supplies. I used clean, sharp pruning shears, rubbing alcohol for sterilization, a small pot with fresh succulent soil, and rooting hormone powder. Sterilizing tools is critical because bacteria can cause rot. I dipped the shears in 70% isopropyl alcohol and let them air dry.
Step 1: Identifying the Right Time and Stem
I chose to trim my succulent in early spring when growth is active. I looked for stems that were at least 4 to 6 inches long with a bare lower section. The top rosette should be healthy and firm. If the plant is stressed or blooming, I wait until after flowering to avoid shock.
Step 2: Making the Clean Cut
I held the stem steady and made a horizontal cut about 1 to 2 inches below the lowest healthy leaf. The cut must be clean and angled slightly to reduce water pooling. After cutting, I inspected the stump—it should have at least two leaf nodes remaining, as these are where new growth will emerge.
Step 3: Treating the Cuttings and the Mother Plant
I applied rooting hormone to the cut end of the stem to encourage faster rooting. For the mother plant, I left the stump in the pot and placed it in bright, indirect light. I avoided watering for three days to allow the cut surface to callous over. This step prevents rot, which is a common mistake beginners make.
Step 4: Planting the Cutting
After the cut end had calloused for two days, I inserted it into a small pot filled with well-draining soil. I made a hole with a pencil to avoid damaging the cutting. I watered lightly, just enough to moisten the soil, and placed the pot under a grow light for 12 hours daily.
Step 5: Following Up with Minimal Watering
For the first week, I only watered when the soil was completely dry. Overwatering is the number one cause of failure. I used a spray bottle to mist the soil surface rather than drenching it. This kept the cutting from sitting in moisture.
My Two-Week Observation: What Happened After Trimming
Day 1 to Day 3: The Waiting Period
Immediately after trimming, the mother plant looked bare and ugly. I worried I had ruined it. The cutting showed no change, and the leaves slightly shriveled. I learned this is normal. According to the RHS, succulents often show initial stress after pruning but recover quickly.
Day 4 to Day 7: First Signs of Growth
By day five, I spotted tiny green bumps along the stem of the mother plant near the leaf nodes. These were new buds forming. The cutting also started to look firmer, and I noticed a slight swelling at the base, indicating root initiation. I resisted the urge to tug the cutting to check for roots.
Day 8 to Day 14: Visible Bushier Development
On day ten, the mother plant had three distinct new shoots emerging from the stem. They were small but clearly visible. The cutting had new root development, and I saw a tiny rosette forming at the top. By day fourteen, the mother plant looked fuller than before, with multiple stems branching out. The cutting had grown at least half an inch taller with a compact shape.
I measured the stem sections: the mother plant’s stem length remained the same, but the new growth added about an inch of width. This confirmed that trimming promotes bushier sections rather than vertical stretching.
Mistakes I Made and How I Fixed Them
Mistake 1: Cutting Too Short
In my first attempt, I cut the stem too close to the soil line, leaving no leaf nodes. The plant failed to produce new growth for weeks. I learned to leave at least two nodes intact. If you make this error, apply a balanced fertilizer to encourage emergency growth, but results may be slow.
Mistake 2: Watering Immediately After Cutting
I once watered the mother plant right after trimming, thinking it would help. Instead, the cut site rotted and turned black. I had to remove the rotted part and treat the wound with cinnamon powder, a natural fungicide. Let the cut callous for at least 48 hours before any moisture touches it.
Mistake 3: Using Dull Tools
Dull shears crushed the stem tissue, leading to a jagged wound that healed poorly. Now I always sharpen my pruning shears before use. Clean cuts heal faster and reduce disease risk. The AHSA recommends sharp tools for precise trimming.
Mistake 4: Placing in Direct Sunlight
After trimming, I put my succulent under full sun, expecting it to thrive. Instead, the leaves got sunburned because the plant was stressed. I moved it to a spot with bright but indirect light for one week, then gradually increased exposure. This prevented scorching.
Mistake 5: Ignoring Temperature Fluctuations
I trimmed a succulent during a cold snap, and the plant went into shock. Now I check the weather forecast and trim only when temperatures are stable between 60°F and 80°F. Sudden cold or heat can stall growth for weeks.
Tips for Different Succulent Types
Rosette Succulents Like Echeveria and Sempervivum
These respond best when you cut the stem just below the rosette. Leave a short stump. Within two weeks, multiple new rosettes emerge from the base. I have seen up to four new heads form on one stem.
Trailing Succulents Like String of Pearls and Burro’s Tail
For these, trim the vines back to a node. New branches will appear from the cut point. I also propagate the cuttings by placing them directly on soil. Over two weeks, the mother plant becomes denser and fuller.
Tall Succulents Like Crassula and Aeonium
These require a deeper cut, about halfway down the stem. The lower part will produce offsets, while the top can be replanted. I noticed that within ten days, the mother plant had basal shoots that doubled the number of stems.
Common Questions I Get About Trimming Succulents
How often should I trim my succulents?
I trim once or twice a year, typically in early spring and again in early summer if growth is vigorous. Over-trimming weakens the plant, so I wait until the stem is at least 4 inches long before cutting again.
Can I trim succulents in winter?
Yes, but growth will be slower. I have done it successfully in winter using a grow light set to 14 hours daily. However, the bushier effect took nearly three weeks instead of two. The RHS advises against pruning during dormancy unless necessary.
What if my succulent is already very leggy?
Cut the stem at the desired height, remove lower leaves, and propagate the top. The stump will produce new growth, and the cutting will root. This is the most effective method to salvage a leggy succulent. I have used this technique on stretched-out Graptopetalum with excellent results.
Final Thoughts on Trimming for Bushier Growth
Trimming succulents to promote bushier stem sections transformed my garden from sparse to full within just two weeks. By following a careful process—making clean cuts, allowing callousing, and providing proper care—you can achieve the same results. The mistakes I made taught me patience and precision. Now, I regularly trim my collection, and each plant responds with multiple branches and a compact shape.
If you want a thriving succulent display, start with one plant and practice. You will see the difference as new growth emerges from the cut stem. The key is to trim with confidence and let the plant do the rest.