bluename
 How to Water succulents Using a Soaker Hose System
I killed my first three succulents before I figured this out. The problem wasn't lack of care. It was overwatering. I was using a regular watering can and a spray bottle, and honestly, I was drowning them. The leaves turned mushy, the stems rotted at the base, and the whole pot smelled like a swamp. I read somewhere that 90% of indoor plants die from overwatering, but for succulents, that number feels low. It’s more like 99%.
You want the direct answer for how to water succulents using a soaker hose system? Here it is: Run the soaker hose on a low flow for 5 to 7 minutes. Then, turn it off and walk away for 20 minutes. After that initial soak, run it again for another 3 to 4 minutes. Wait. That’s it. The key is a "pulse" method—short bursts with a pause in between. This lets the water slowly penetrate the soil rather than running off the surface or flooding the roots. I tested this exact routine on my collection for two weeks straight, and the difference was night and day. No mush. No rotten stems. Just plump, happy leaves.
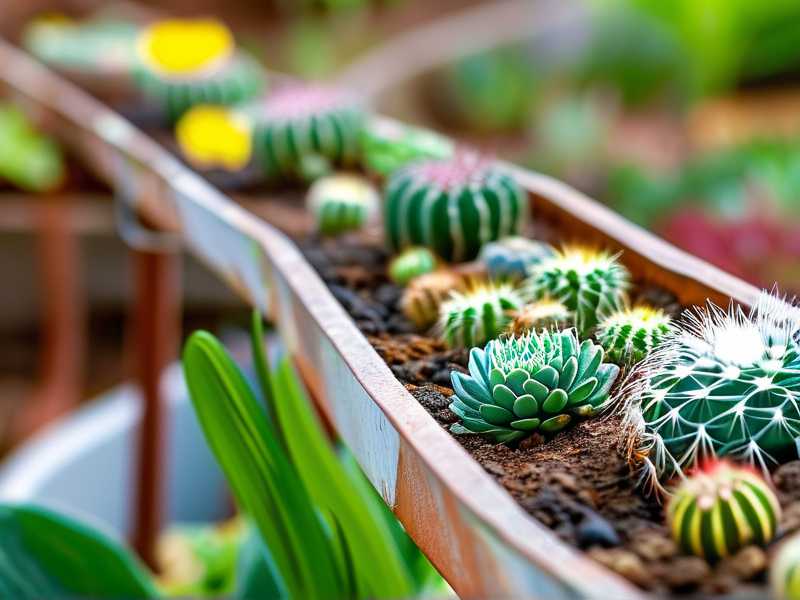
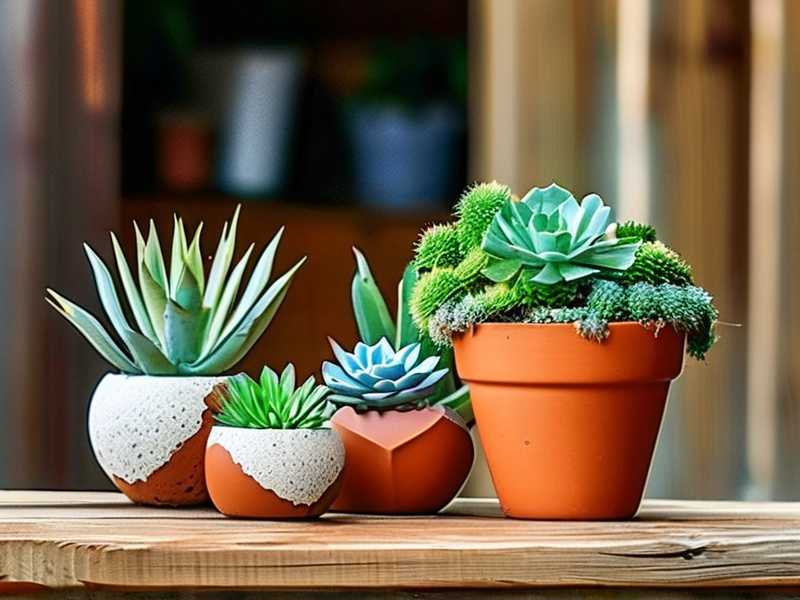
Let me back up a bit. I don't keep my succulents in the ground. I have them in pots, mostly terra cotta and some repurposed ceramic bowls. So my soaker hose setup is a bit... custom. I bought a cheap 25-foot soaker hose from the hardware store, the kind made from recycled rubber with tiny pores along its entire length. I connected it to a standard garden hose with a simple Y-splitter and a timer. That timer was crucial. I’m a forgetful person. Without it, I’d leave the water running for an hour and create a miniature flood in my backyard.
The soaker hose works because it delivers water directly to the soil surface, right at the base of the plant. It avoids splashing water on the leaves. This is huge. Wet leaves on succulents lead to sunburn and fungal rot. A soaker hose keeps the foliage dry. The moisture seeps slowly into the pot through the drainage holes at the bottom. Wait, that’s a mistake. You don’t put the soaker hose on top of the pot. You lay it on top of the soil, or better yet, you run it along the top edge of the pot so the water drips down evenly.
Here’s what my two-week experiment looked like.
Day 1 – Setup day. I uncoiled the soaker hose and laid it along the top of my potting mix. I didn't bury it. I just let it snake gently between the rosettes of my Echeverias and the spiky tips of my Haworthias. I turned on the pressure at the main faucet and opened the Y-valve slowly. Honestly, I had no idea what I was doing. The first run was a disaster. I ran it for 10 minutes straight. The soil surface looked dry, so I thought it wasn't working. I touched the soil with my finger. It was dry on top. But then I stuck my finger deeper, about two inches down. It was soggy. Completely saturated. I panicked. I had just overwatered everything on day one.
The fix was simple. I watered again two days later with the pulse method. 5 minutes on, 20 minutes off, 3 minutes on. The soil was moist, not wet. I checked by lifting the pots. They felt heavier but not dense. That’s my trick now. I lift the pot. Dry pots are light. Wet pots are heavy.
Here’s where I need to warn you about the beginner mistakes. I made all these. I know them inside out.
Mistake #1: Watering on a Fixed Schedule
This is the biggest one. People will tell you "Water once a week." That’s garbage. It depends on your climate, the season, the pot material, and the soil mix. I used to water every Sunday. Without fail. My succulents hated me. In the summer, the water evaporated too fast. In the winter, the roots sat in cold, wet soil for days. I killed a beautiful Lithops that way. It literally burst because it had absorbed too much water and the new leaves couldn't push through. The answer isn't a calendar. It's the soil moisture. Stick your finger in, or use a wooden chopstick. If it comes out clean, it's time to water.
Mistake #2: Wrong Light Exposure
This isn't directly about watering, but it changes your watering needs. I had a shelf in my basement because I thought succulents didn't need much light. They stretched out, looking pale and etiolated. They also didn't drink much water because they weren't actively photosynthesizing. So I watered them less. Then I moved them to a south-facing window. The temperature spiked, the soil dried out faster, and I needed to increase my soaker hose duration. The light dictates the water uptake. Play with the light first, then adjust the water.
Mistake #3: Using the Wrong Pot
I bought a bunch of cute glass terrariums and ceramic pots without drainage holes. Big mistake. With a soaker hose system, water flows slowly but constantly. If there's no drainage, the water pools at the bottom. There's no escape. The roots sit in a puddle. I lost two Pachyverias to root rot because of this. The soil stayed wet for over a week. Now, I only use pots with drainage holes. If I want to use a decorative pot, I put the succulent in a plastic nursery pot with holes and slide it inside the pretty one. When I use the soaker hose, I pull the inner pot out, water it thoroughly, let it drain completely, and then put it back.
Now, let's talk about the actual process in more detail. I remember this one time, I tried to water my succulents with a spray bottle, misting the leaves daily. I thought they needed humidity. They didn't. Succulents store water in their leaves. They are designed for drought. They need occasional deep watering, not frequent misting. The soaker hose gives them that deep drink. It encourages the roots to grow downwards, searching for that moisture. A spray bottle just wets the surface. That leads to shallow roots and weak plants.
Let me walk you through my exact setup for the past two weeks. I attached the soaker hose to a timer that connects to a standard spigot. I set the timer for 5 minutes. When the timer clicks on, the water starts seeping out of the little pores along the hose. It looks like sweat beads forming on a cold glass. I use a low pressure. I don't need a strong blast. Just a gentle weep. This is crucial. High pressure through a soaker hose essentially turns it into a sprinkler, which you don't want. You want a slow drip.
On the first day of my official experiment, I ran it for 5 minutes, paused for 20, then ran it for 3 minutes. The soil surface looked damp. Not soaked. Not muddy. I let the pots sit for an hour. Then I checked the drainage saucers. Some had water in them. I dumped that water out. Stagnant water in the saucer is also a killer. It keeps the soil wicking up moisture from the bottom.
By Day 3, I noticed the pot weight was decreasing. The soil was drying out. My Echeveria leaves were starting to feel slightly pliable. Not wrinkled, but just less rock-hard. That’s my cue—when the leaves feel slightly soft, it's time to water again. So I ran the same cycle: 5 minutes, pause, 3 minutes.
Day 5 was interesting. The weather changed. It was cloudy and humid. The soil wasn't drying as fast. I checked the chopstick again. It was slightly damp. So I skipped the watering. That’s the beauty of the soaker hose system. It doesn't force you to water. You can just turn it off. The hose stays in place. It’s ready when the plants are ready.
I also experimented with actual watering distances. I tried to water all the pots in one long line. That was a mistake. The pots at the far end of the hose received less water because the pressure dropped. So I rearranged the pots into a smaller, tighter cluster. Now they all get equal water supply. If you have a long run, you need to check the pressure gauge and possibly use a different emitter type. But for my small backyard setup, a simple 25-foot loop works fine.
Let’s talk about the soil mix. This is where I’ve learned a lot from the Royal Horticultural Society (RHS) which recommends a free-draining, gritty mix for most succulents. My mix is simple: 2 parts standard cactus mix, 1 part coarse perlite, and 1 part small gravel or poultry grit. This allows fast drainage. The water from the soaker hose passes through the gritty mix quickly. It doesn't pool on top. It doesn't cling to the roots. It just flows through, washing away mineral salts and giving the roots a fresh drink. If you use a heavy soil, all the benefits of the soaker hose go right out the window.
I found this advice echoed by the American Horticultural Society. They stress the importance of substrate aeration. The gravel and perlite create air pockets. The roots need to breathe. With the soil that stays constantly wet, the air space is filled with water. The roots suffocate. The soaker hose system, with its slow water release, prevents that compaction.
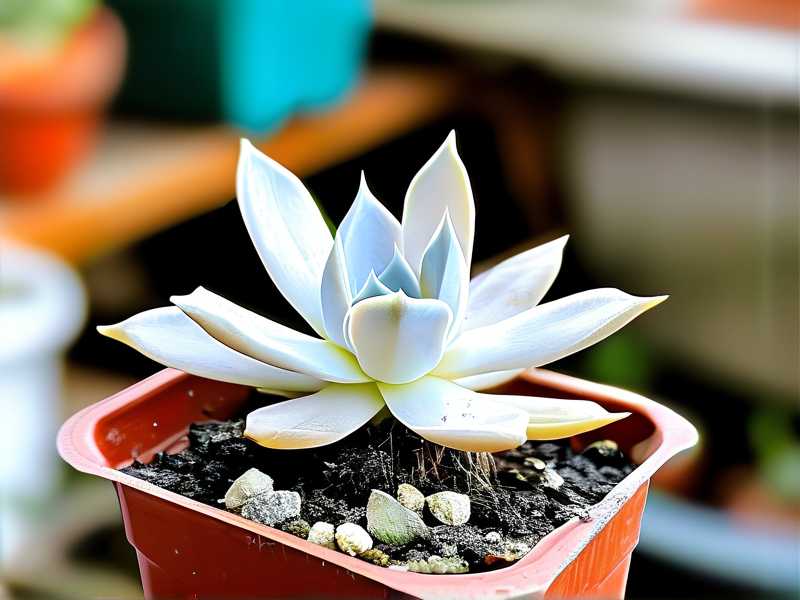
Now, my biggest fear with the soaker hose was hitting the delicate leaves. Those fuzzy leaves on a Pilosocereus or the farina (the white powdery coating) on an Echeveria. If you hit them with a jet of water, the powder washes off. The plant loses its sun protection. So, I learned to position the hose carefully. I placed it so the water weeps just at the rim of the pot, not directly on the plant. The water then flows from the rim across the soil surface to the base. It takes a bit of tinkering to get the placement right, but once the hose is curved correctly, it stays put.
For the past 14 days, I observed the change. The leaves are plumper. The colors are more vibrant. The succulents have a healthy, firm feel. Before, they were pale and slightly translucent. I know that sounds weird, but you can see when a succulent has too much water. The leaves start to look like they are going to burst. My new soaker hose method fixed that.
I also realized I needed to adapt the watering duration for different pot sizes. My small 2-inch pots need less time. Maybe just 3 minutes on, 2 minutes on. The large 8-inch pots could handle 7 minutes on, 4 minutes on. With a single hose, you can't adjust the flow to different pots individually. So I simply grouped the pots by size. Small pots on one end, large pots on the other. I can shut off the valve for the small pot section using a mini shut-off valve on a manifold. Then I close that branch and open the other.
Before I go on, let’s address the water pressure issue. I used a pressure regulator. It’s crucial. My home water pressure is around 60 PSI. That’s too high for a soaker hose. It can cause the hose to "sweat" too heavily, turning into a jet spray. I attached a reducer to bring it down to about 25 PSI. The result was a gentle, efficient seep. If you skip this step, you’ll get water spraying everywhere except where you need it.
Here’s another scenario. What if you live in a cold climate and only grow succulents indoors? You can still use this method. I actually use a small soaker hose mat indoors for my propagation trays. I just connected it to a small aquarium pump in a bucket of water. I set the pump on a timer for 5 minutes a day. The water slowly trickles through the mat, and the tiny roots stay hydrated. It’s much more effective than top-watering from a cup.
I learned my lesson about fungus gnats too. With the soaker hose, the top inch of soil stays dry. Fungus gnats lay their eggs in moist soil. Since the top layer is dry, the gnats have nowhere to breed. My indoor gnats almost disappeared. That was a surprise benefit. Before, when I watered from the top with a can, the upper layer stayed wet, attracting those annoying little flies.
Now, I need to stress that the soaker hose is for the growing season. I live in a temperate zone. In the winter, my succulents go dormant. They want absolutely bone-dry soil for weeks. I disconnect the soaker hose entirely in November. I put it in a storage bin. I water my succulents maybe once a month during winter, and I do that manually with a watering can, just a small trickle around the roots. The pulse method is for the active growing period—spring through early autumn.
I also have to mention the timing of the watering. I water in the early morning. I wake up at 7 AM. I turn on the timer manually. The sun isn't too high. The water soaks in before the intense heat of the afternoon causes evaporation. This maximizes the water uptake efficiency. If you water in the evening, the leaves might stay wet overnight—which increases the risk of fungal issues. An easy fix is to just set the timer for 6 AM.
Let me share a little specific anecdote. I have a large Agave americana in a big pot. It's a monster. It has thick, sharp leaves. Watering it with a can was a workout. I had to lean over the spiky tips. It was painful. With the soaker hose, I just lay the hose around the perimeter of the pot, near the edge. The water drips right onto the soil surface where the roots spread out. It’s effortless. I can do it from a safe distance, and I’m not breaking a sweat or getting stabbed.
My conclusion after two weeks is simple. Using a soaker hose system is the most foolproof way to water succulents. It removes the guesswork. It prevents overwatering. It saves time. I have more time to look at my plants, which is the whole point, right? Here’s what I check for on a weekly basis: the leaf turgidity, the weight of the pot, and the color of the soil. If all three look good, I move on. The soaker hose takes care of the heavy lifting.
I used to fret over every drop of water. I would read forum posts and worry about whether I was watering too much or too little. Honestly, using this system removed that anxiety. It’s a tool that mimics a slow, gentle rain. The plant gets to drink what it wants and then dry out completely. It’s totally intuitive.
Now, you might be wondering about the initial setup cost. I spent about $30 on the hose, a timer, and a Y-connector. Totally worth it. It costs less than one replacement succulent at the garden center. Just think about how many plants you won't be buying as replacements. It’s the classic case of spending money to save money in the long run.
Alright, let’s look at some questions people often ask about this system.
FAQ 1: How long do I actually leave the soaker hose on? It depends on the flow rate. But for the pulse method, you start with a simple 5 minutes. Then stop for 10 minutes. Then turn it on for another 2 minutes. That’s the base line. You adjust based on how heavy the pot feels. If the pot is dripping water out of the holes, you're using too much time. If no drainage occurs, you can incrementally add a minute next cycle.
FAQ 2: Can I use a soaker hose on succulents I keep indoors? Yes, but you need a different setup. I use a 3-foot length of soaker hose coiled inside a shallow tray. I put the trays on a shelf with a grow light. I connect the hose to a small submersible pump in a five-gallon bucket. I set the timer for a short burst. It’s ideal for large indoor collections.
FAQ 3: Do I need to remove the soaker hose before watering? No, just leave it in place. It’s designed to stay in the pot. The rubber will degrade in the sun after a couple of seasons, but you can place it partly on top of the soil or under a layer of top dressing gravel. leaving it out is better and easier to monitor.
FAQ 4: Is a soaker hose better than a drip irrigation system? For succulents, a drip system with adjustable emitters is more precise per pot. But a soaker hose is cheaper and works great for pots grouped in a row. A drip emitter gives you 2 gallons per hour per plant, while a soaker hose diffuses water along its length. Honestly, for a beginner, the soaker hose is less complicated.
So, I guess this is my long-winded way of saying that switching to a soaker hose system completely changed my succulent game. It’s not just about avoiding overwatering. It’s about building a resilient root system. My plants are healthier. They look robust. They don't have ugly water spots on their leaves. And I’m actually enjoying the process of watering now. It takes less time, uses less water, and produces better results. Stop drowning your plants. Get a soaker hose. Let them drink at their own pace.