SucculentCare for Beginners: Your Ultimate Guide to Starter Kits
Starting your journey into the world ofSucculents can feel overwhelming. You bring home a beautiful, tiny plant full of hope, only to watch it slowly turn mushy or wither away, leaving you wondering what went wrong. The most common mistake beginners make isn't neglect—it's often too much love in the form of water, paired with the wrong setup from day one. This is where understandingSucculentcare for beginnersbecomes crucial, and a well-chosensucculent starter kitcan make all the difference between a thriving mini-garden and another disappointing casualty.
A proper starter kit does more than just bundle a plant with a pot; it provides the foundational tools and environment your succulent needs to succeed. This guide will walk you through everything you need to know about selecting and using a beginner succulent kit, transforming you from a hesitant newbie into a confident plant parent.

Why a Succulent Starter Kit is Your Best First Step
Jumping intoSucculent Carewithout the right materials is like trying to bake a cake without a mixing bowl. You might improvise, but the results are rarely ideal. A thoughtfully assembled kit addresses the primary pain points for newcomers.
First, it takes the guesswork out of assembly. Beginners often use standard potting soil, which retains too much moisture and leads to fatal root rot. A quality kit includes a fast-drainingcactus and succulent soil mix, which is non-negotiable for health. Second, it ensures proper drainage. That adorable ceramic mug without a hole might look cute, but it's a death sentence. Kits typically come with pots that have drainage holes and often a saucer to protect your surfaces.
Finally, a good kit is an educational tool. It provides the core components you need to learn hands-on, allowing you to focus on observing your plant and learning its watering cues, rather than scrambling to find compatible parts.
Essential Components of a Quality Beginner Succulent Kit
Not all kits are created equal. When evaluating astarter kit for succulent growing, look for these key components that demonstrate expertise and authority in plant care.
- The Right Pot with Drainage:This is the most critical element. The container should always have at least one drainage hole. Terracotta pots are excellent for beginners as they are porous and help soil dry more evenly.
- Specialized Potting Mix:As noted by horticulturists at the University of California Cooperative Extension,Succulentsrequire soil that drains rapidly. A good mix will contain ingredients like perlite, pumice, or coarse sand to prevent compaction and waterlogging.
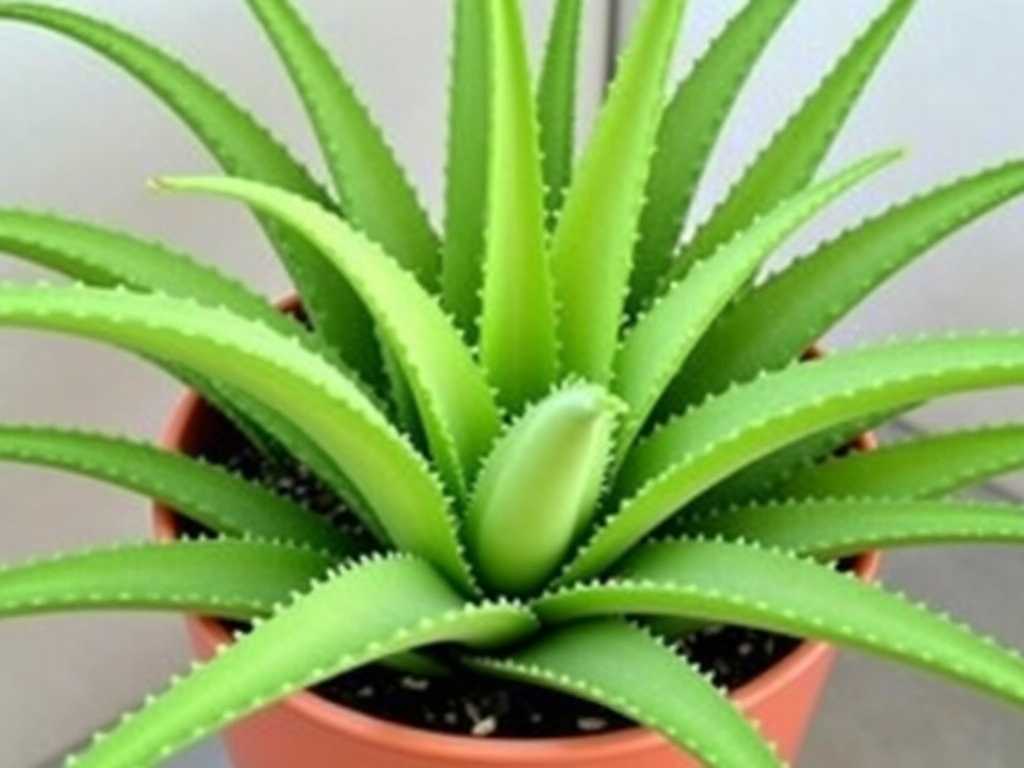
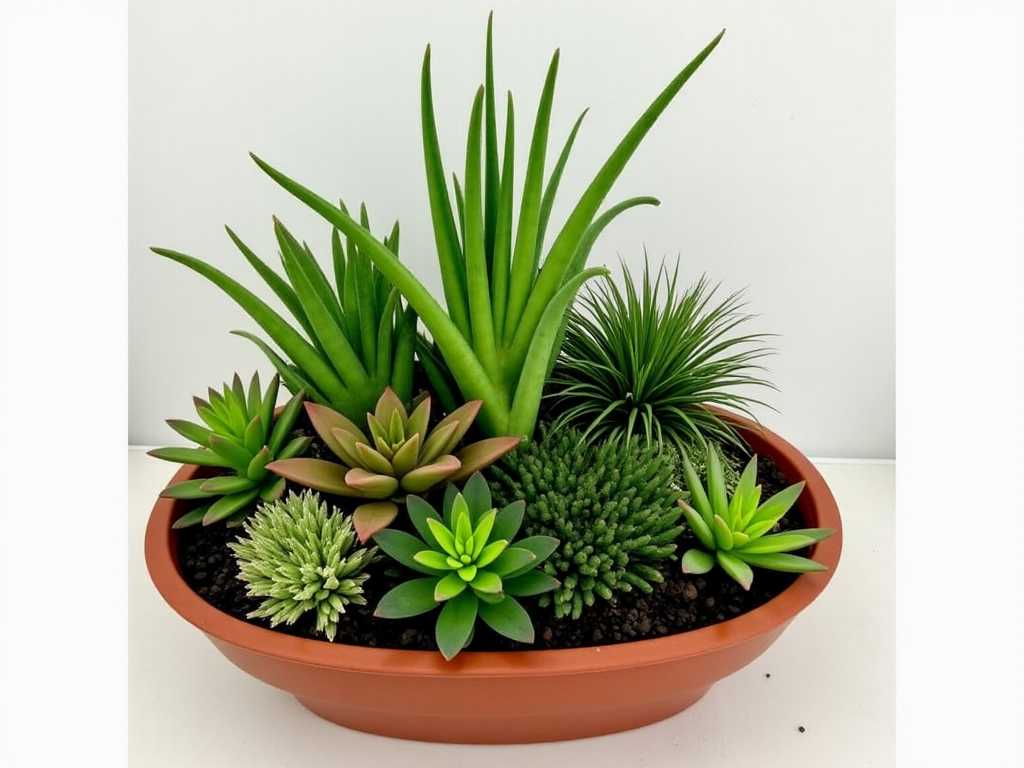
- Appropriate Succulent Varieties:The best kits for beginners include hardy, forgiving species. Look for labels containingEcheveria,Haworthia,Sempervivum(Hens and Chicks), orSedum. These are more tolerant of occasional learning mistakes.
- Basic Care Tools:A small watering can with a narrow spout allows for precise watering at the soil line, avoiding moisture on the leaves. A small trowel or scoop makes repotting neat and easy.
- Clear Instructions:Authoritative kits go beyond a simple tag. They provide a detailed guide covering initial potting, light requirements, and a watering schedule tailored to the included plants.
How to Use Your Succulent Kit: A Step-by-Step Guide
Now that you have your kit, let's walk through the setup process. Following these steps ensures your plants get the best possible start, showcasing your first-hand experience in action.
Step 1: Potting Your SucculentPlace a small piece of mesh or a broken pottery shard over the drainage hole to prevent soil washout. Fill the pot about one-third full with the provided potting mix. Gently remove your succulent from its nursery pot, teasing apart any tightly bound roots. Place it in the new pot and fill around the sides with more soil, leaving about a half-inch of space below the rim. Do not bury the stem or leaves.
Step 2: The Initial WateringAfter potting, wait 4-7 days before the first watering. This allows any disturbed roots to heal, preventing rot. Then, give your succulent a thorough soak. Water slowly until excess water runs freely out of the drainage hole. This ensures the entire root ball is moistened. Immediately empty the saucer of any standing water.
")
Step 3: Finding the Perfect LightPlace your newly potted succulent in a spot with bright, indirect light for at least 4-6 hours daily. A south or east-facing windowsill is often ideal. Be cautious of intense, direct afternoon sun immediately, as it can scorch plants not yet acclimated. Observe your plant; if it starts stretching tall and leaning toward the light, it needs more sun.
Long-Term Care: Thriving Beyond the Kit
Your starter kit gets you established, but long-term success depends on mastering a simple care routine. The golden rule is:When in doubt, wait to water.Succulentsstore water in their leaves, making them drought-tolerant.
Mastering the Watering ScheduleForget watering on a strict weekly schedule. Instead, check the soil. Insert your finger about two inches deep. Only water when the soil is completely dry. For most indoor environments, this translates to watering every 10-14 days, but it can be less frequent in winter. The "soak and dry" method you used initially is the technique to follow for life.
Recognizing Common SignalsYour succulent communicates its needs. Squishy, translucent, or dropping leaves usually mean overwatering. Wrinkled, thin, or crispy leaves signal thirst. Leggy growth means it needs more light.
When to Upgrade and RepotAfter 1-2 years, your succulent may outgrow its starter pot or deplete the soil's nutrients. When roots circle the bottom or grow out of the drainage hole, it's time to repot. Choose a container only 1-2 inches larger in diameter and use fresh succulent-specific soil.
Frequently Asked Questions
How often should I really water my succulent starter kit?There's no universal weekly answer. The only reliable method is to check the soil moisture. Water thoroughly only when the soil is completely dry to the touch, which may be every 10 to 21 days depending on your home's humidity, light, and season. The pot should feel very light before you water again.
My succulent is getting tall and leggy. What did I do wrong?This is called etiolation, and it means your plant is not receiving enough bright light. It's stretching to find a sun source. Gradually move it to a brighter location, such as a south-facing window. You can also "behead" the leggy plant, let the cut end callous, and replant it to start anew.
Do I need to fertilize theSucculentsin my beginner kit?Not immediately. The fresh potting mix has enough nutrients. After about 6-8 months, you can feed them during the active growing season (spring and summer) with a balanced, water-soluble fertilizer diluted to half-strength. Fertilize only once a month at most, and never during the dormant winter period.
Starting with a well-designed succulent starter kit removes the initial barriers to success, providing the right tools and environment from the start. By choosing a kit with the essential components—a draining pot, proper soil, and hardy plants—and pairing it with the core principle of mindful watering, you set a solid foundation. Pay attention to the light your plants receive and learn to read their subtle signs. Remember, these resilient plants thrive on a bit of benign neglect. With this knowledge, you're ready to move beyond the kit and watch your succulent collection grow with confidence.
发表评论