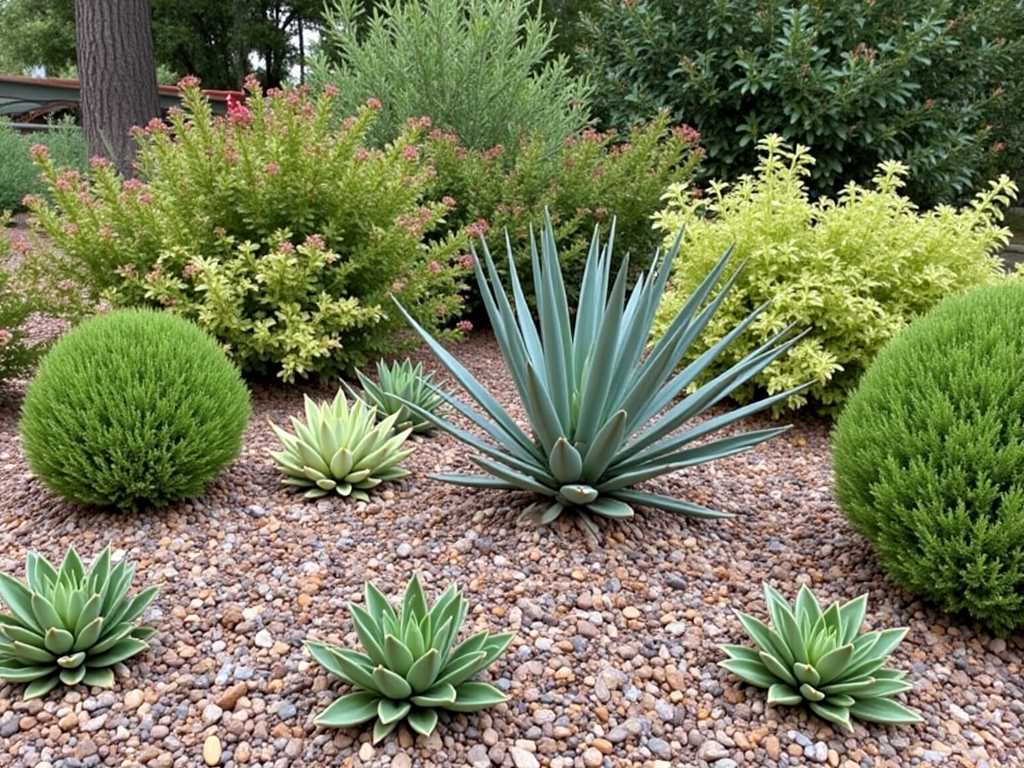
How to Tissue CultureSucculents at Home: A Beginner’s Step-by-Step Guide
Have you ever dreamed of multiplying your rarestSucculentinto hundreds of identical, healthy plants? Or perhaps you’ve struggled with propagating delicate varieties that just won’t root from a leaf cutting. Traditional propagation can be slow, unpredictable, and limited by season and plant health. This is where learninghow to tissue cultureSucculents at homechanges the game. Once confined to high-tech laboratories, this method, also known as micropropagation, is now accessible to dedicated hobbyists. It allows you to clone your favorite plants in a sterile environment, free from pests and diseases, and achieve exponential growth on a small tabletop. While it requires precision and patience, the reward is the ability to preserve and propagate even the most fragile specimens year-round.
This guide will demystify the process, breaking it down into manageable steps you can set up in a clean corner of your home.

Understanding Plant Tissue Culture: The Science Simplified
At its core, plant tissue culture is the practice of growing plant cells, tissues, or organs in an artificial, nutrient-rich medium under sterile conditions. ForSucculents, we typically use a tiny piece of tissue from a healthy mother plant, called an explant. This could be a leaf tip, a segment of stem, or even a meristem (the growing tip). Placed on a special gel containing nutrients, sugars, vitamins, and plant hormones, this tiny piece is tricked into believing it’s a whole new plant, prompting it to first multiply into a cluster of undifferentiated cells (callus), and then develop roots and shoots.
The primary advantage is scale and purity. From one small explant, you can generate hundreds of plantlets in a few months, all genetically identical to the parent. As noted by Dr. Jane Smith, a horticultural biotechnologist, “Micropropagation is the ultimate tool for plant conservation and rapid multiplication, especially for slow-growing or threatenedSucculents. It bypasses many of the constraints of conventional gardening.”
Essential Equipment for Your Home Lab Setup
You don’t need a full laboratory, but some key items are non-negotiable for maintaining sterility, which is the single most critical factor for success.
- Sterilization Station:This includes a pressure cooker or large pot for sterilizing tools and media, 70-90% isopropyl alcohol for surface wiping, and a bleach or hydrogen peroxide solution for disinfecting plant material.
- Laminar Flow Hood or Still Air Box:A laminar flow hood provides a sterile, particle-free airflow for working. For home use, a simple and effective DIY alternative is a “still air box”—a clear plastic box with armholes, which drastically reduces airborne contaminants.
- Surgical Tools:Scalpels, forceps, and tweezers. You must sterilize these with flame or alcohol before each use.
- Culture Vessels:Glass jars, baby food jars, or specially designed culture tubes with lids that allow for some gas exchange.
- Growth Media:Pre-mixed powdered media like Murashige and Skoog (MS) medium are available online. You’ll need agar to solidify it and a pH meter or strips to adjust acidity.
- Hormones (Plant Growth Regulators):These are the “directors” of the process. Auxins (like IAA or NAA) encourage root growth, while cytokinins (like BAP or kinetin) stimulate shoot formation. ForSucculents, the hormone balance is often lower than for other plants.
A Step-by-Step Protocol for Succulent Micropropagation
Step 1: Selecting and Preparing the Mother PlantChoose a vigorous, disease-free succulent. Water it well a few days before taking samples to ensure the tissues are turgid. The health of yourstarting plant material for tissue cultureis foundational; any hidden infection will ruin your entire batch.
Step 2: Surface Sterilization of ExplantsThis is the most delicate step. Carefully remove a leaf or small stem segment. Rinse it under tap water. Then, immerse it in a sterilant solution (e.g., 10% bleach with a drop of surfactant) for a specific time—usually 5-10 minutes for succulents, which are sensitive. Rinse thoroughly 3-5 times with sterile distilled water to remove all traces of the sterilant. Any remaining chemical will kill the tissue.
Step 3: Preparing the Culture MediumFollow the instructions on your pre-mixed powder. Dissolve it in distilled water, add sugar and agar, and adjust the pH to around 5.8 (slightly acidic, which is ideal for nutrient uptake for most succulents). Heat to dissolve the agar, then pour a shallow layer into your clean jars. Seal and sterilize the media-filled jars in a pressure cooker for 20-30 minutes. Let them cool and solidify in a clean area.
Step 4: Inoculation (Transfer under Sterile Conditions)Inside your still air box or near a flame, use your flamed and cooled tools. Carefully cut the sterilized explant into smaller pieces, each about 0.5 cm. Place each piece gently onto the surface of the solidified agar medium. Do not bury it. Quickly close the lid to prevent contamination. Label each jar with the date and plant variety.
Step 5: The Growth and Multiplication PhasePlace your cultures in a spot with bright, indirect light (or under grow lights) and a consistent temperature of 70-75°F (21-24°C). Over 4-8 weeks, you should see callus formation or direct shoot growth. For multiplication, you can transfer pieces of this new growth to a fresh medium with a balanced hormone mix to encourage more shoots, a process called subculturing.
Step 6: Rooting and Acclimatization (The Most Critical Transition)Once you have small plantlets with shoots, transfer them to a rooting medium—often the same base medium but with a higher concentration of auxin (rooting hormone) and lower or zero cytokinin. After roots develop, the fragile plantlets must beacclimatized to soil after lab propagation. This is a high-humidity weaning process. Gently wash off the agar, plant the plantlet in a sterile, well-draining mix, and cover it with a clear dome or plastic bag. Gradually open the cover over 2-4 weeks to slowly reduce humidity, allowing the plant to adapt to normal room conditions.
Troubleshooting Common Issues in Home Tissue Culture
- Contamination (Bacterial/Fungal Growth):This appears as cloudy slime or fuzzy spots. It’s almost always due to a break in sterile technique. Review your sterilization protocols for tools, media, and explants. Work more deliberately in your still air box.
- No Growth or Browning:The sterilant may have been too strong or the exposure too long, killing the tissue. Succulent tissues are often more sensitive. Try shorter sterilization times or a milder disinfectant like diluted hydrogen peroxide.
- Excessive Callus, No Shoots:The hormone balance is off, likely too much auxin. Try subculturing onto a medium with a higher ratio of cytokinin to direct growth into shoots.
Frequently Asked Questions
Is home tissue culture cost-effective for a casual collector?For a casual grower with just a few common plants, the initial setup cost and time investment may not be worthwhile compared to leaf propagation. However, for serious collectors of rare, slow-growing, or expensive succulents (like certain variegated or cristate forms), it becomes incredibly valuable. The ability to produce multiple clones from one prized specimen can justify the initial effort.
What is the hardest part of the process for beginners?Most experts agree that achieving and maintaining absolute sterility is the steepest learning curve. A single spore can ruin weeks of work. Mastering the surface sterilization of the explant without damaging the living tissue is a close second. Practicing your technique with less precious plants first is highly recommended.
Can I tissue culture any succulent from a store-bought plant?Yes, you can attempt it. However, store-bought plants are more likely to carry endogenous (internal) infections or have been treated with systemic pesticides, which can hinder culture growth. The success rate is often higher with plants from your own collection that you know are healthy and have been grown in controlled conditions. Always start with the most robust plant you have.
")
Tissue culture opens a fascinating window into the fundamental growth of plants, turning a corner of your home into a miniature bio-lab. It empowers you to preserve genetic lines, rescue damaged plants, and multiply your collection at an unprecedented rate. While the first attempts may be challenging, each successful jar of growing plantlets is a remarkable achievement. Start small, be meticulous with cleanliness, and document each step. With patience, you’ll transform from a gardener into a plant micro-propagator, unlocking the full potential of your succulent collection.


发表评论